# <img src="./imgs/hexapod-logo.svg" alt="logo" width="64"/> Hexapod A Hexapod Robot using Raspberry Pi Zero W 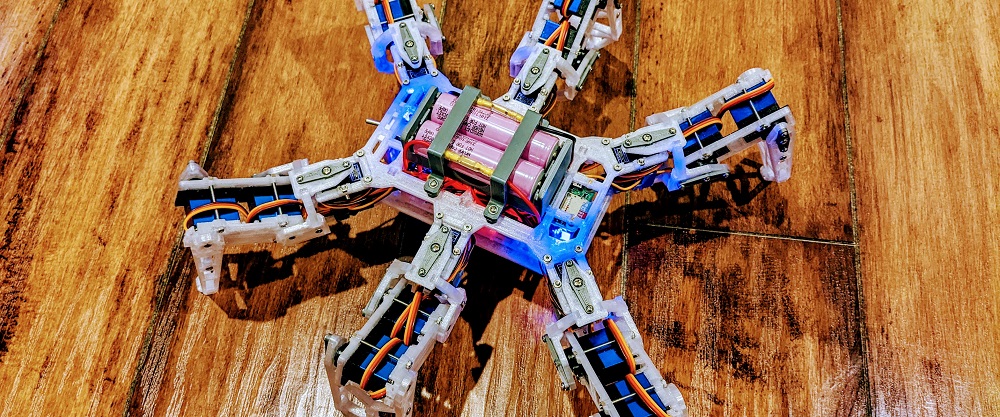 ## Introduction This is a hexapod robot based on [Smallp Tsai](https://github.com/SmallpTsai)'s [hexapod-v2-7697](https://github.com/SmallpTsai/hexapod-v2-7697) project. This project reused most of the mechanism design in the original project, but with a full redesign of the circuits and software. The table below shows the difference between this project and the original one. | | Original hexapod-v2-7697 | This project | | --------------- | ------------------------ | ----------------------------------------------- | | Controller | Linkit 7697 | Raspberry Pi Zero W or Raspberry Pi Zero W 2 | | PWM control | Custom circuit board | 2 x PCA9685 motor driver boards | | DC-DC | 7 x mini360 modules | 2 x XL4005 5A Max DC-DC modules and 1 x mini360 | | Power | 2S Lipo battery | 2 x 18650 batteries | | Remote | BLE | WiFi | | Remote software | Android and iOS | PC, Android (WIP) | <!-- ## Gallery --> ## Mechanism ### Bill of Materials (BOM) #### Servos 18 TowerPro [MG92B](http://www.towerpro.com.tw/product/mg92b/) are required. > The dimension of 3d printed part is highly dependent on the servo's size. Modification is required if you want to use alternative servos. #### 3D-Printed Parts ##### Body x 1 | Filename | Thumbnail | Required | | -------------- | ----------------------------------------------------------------------- | -------- | | body_top | <img src="./imgs/body_top.jpg" alt="body_top" width="300"/> | 1 | | body_bottom | <img src="./imgs/body_bottom.jpg" alt="body_bottom" width="300"/> | 1 | | body_side_wall | <img src="./imgs/body_side_wall.jpg" alt="body_side_wall" width="300"/> | 2 | | body_back_wall | <img src="./imgs/body_back_wall.jpg" alt="body_back_wall" width="300"/> | 1 | | battery_box | <img src="./imgs/battery_box.jpg" alt="battery_box" width="300"/> | 1 | | battery_holder | <img src="./imgs/battery_holder.jpg" alt="battery_holder" width="300"/> | 2 | ##### Leg x 6 | Filename | Thumbnail | Required | | --------------- | ------------------------------------------------------------------------- | -------- | | thigh_top | <img src="./imgs/thigh_top.jpg" alt="thigh_top" width="300"/> | 1 (x6) | | thigh_bottom | <img src="./imgs/thigh_bottom.jpg" alt="thigh_bottom" width="300"/> | 1 (x6) | | joint_cross | <img src="./imgs/joint_cross.jpg" alt="joint_cross" width="300"/> | 1 (x6) | | joint_top | <img src="./imgs/joint_top.jpg" alt="joint_top" width="300"/> | 2 (x6) | | joint_bottom | <img src="./imgs/joint_bottom.jpg" alt="joint_bottom" width="300"/> | 2 (x6) | | leg_top | <img src="./imgs/leg_top.jpg" alt="leg_top" width="300"/> | 1 (x6) | | let_bottom | <img src="./imgs/leg_bottom.jpg" alt="leg_bottom" width="300"/> | 1 (x6) | | foot_top | <img src="./imgs/foot_top.jpg" alt="foot_top" width="300"/> | 1 (x6) | | foot_bottom | <img src="./imgs/foot_bottom.jpg" alt="foot_bottom" width="300"/> | 1 (x6) | | foot_ground | <img src="./imgs/foot_ground.jpg" alt="foot_ground" width="300"/> | 1 (x6) | | foot_tip | <img src="./imgs/foot_tip.jpg" alt="foot_tip" width="300"/> | 1 (x6) | | servo_horn_j1j2 | <img src="./imgs/servo_horn_j1j2.jpg" alt="servo_horn_j1j2" width="300"/> | 2 (x6) | | servo_horn_j3 | <img src="./imgs/servo_horn_j3.jpg" alt="servo_horn_j3" width="300"/> | 1 (x6) | #### Others | Name | Spec | Thumbnail | Required | Note | | --------- | ------- | ---------------------------- | -------- | ------------------------------------------------- | | Screw | M2 6mm | 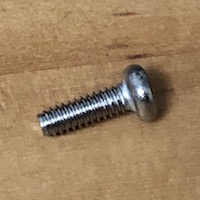 | 54 | Servo Arm: 1 x 18<br>Joint: 4 x 6<br>Thigh: 2 x 6 | | Screw | M2 10mm | 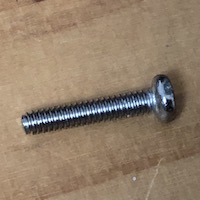 | 24 | Thigh: 1 x 6<br>Pin lock: 1 x 18 | | Screw | M2 30mm | 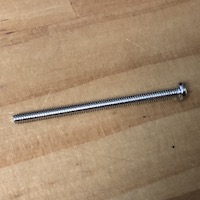 | 36 | Servo: 2 x 18 | | Nuts | M2 |  | 36 | Servo: 2 x 18 | | Pin (304) | M4 6mm |  | 18 | Servo: 1 x 18 | ### Leg Assemble #### Assembly video <a href='https://youtu.be/oaAE5fC09KQ'><img src='http://img.youtube.com/vi/oaAE5fC09KQ/mqdefault.jpg'/></a> #### Exploded view <img src="./imgs/mech_leg_exploded.jpg" alt="LegAssemble" width="500"/> #### Detailed steps - **Step 1** - Combine `thigh_top`, `MG92B` and `thigh_bottom`, use M2x30mm screw and nut to secure them together. <img src="./imgs/mech_leg_1.jpg" alt="LegAssemble1" width="500"/> - **Step 2** - Grab one `joint_cross`, `joint_top` and `joint_bottom` and combine them <img src="./imgs/mech_leg_2.jpg" alt="LegAssemble2" width="500"/> - **Step 3** - First put 2 x `MG92B`, `leg_top` and `leg_bottom` together with M2x30mm screw and nut. Then attach `joint_top` and `joint_bottom` altogether <img src="./imgs/mech_leg_3.jpg" alt="LegAssemble3" width="500"/> - **Step 4** - Grab `foot_top`, `foot_bottom` and `foot_ground` (and `foot_top`) and assemble them. <img src="./imgs/mech_leg_4.jpg" alt="LegAssemble4" width="500"/> - **Finish** - Great, you got 1 leg done, 5 more to go :) <img src="./imgs/mech_leg_5.jpg" alt="LegAssemble5" width="500"/> ## Electronics ### Bill of Materials (BOM) | Name | Thumbnail | Required | | -------------- | ----------------------------------------------------------------------- | -------- | | Raspberry Pi Zero W or W 2 | <img src="./imgs/zero2-close-up.webp" alt="raspberry pi" width="300"/> | 1 | | PCA9685 motor driver | <img src="./imgs/PCA9685.jpg" alt="PCA9685" width="300"/> | 2 | | XL4005 DC-DC step down | <img src="./imgs/XL4005.jpg" alt="XL4005" width="300"/> | 2 | | Mini 360 DC-DC step down | <img src="./imgs/mini360.jpg" alt="mini360" width="300"/> | 1 | | Toggle switch | <img src="./imgs/toggle_switch.jpg" alt="toggle_switch" width="300"/> | 1 | ### Connection Diagram <img src="./imgs/diagram.svg" alt="diagram" width="800"/> ## Software