#  Hexapod
A Hexapod Robot using Raspberry Pi Zero W
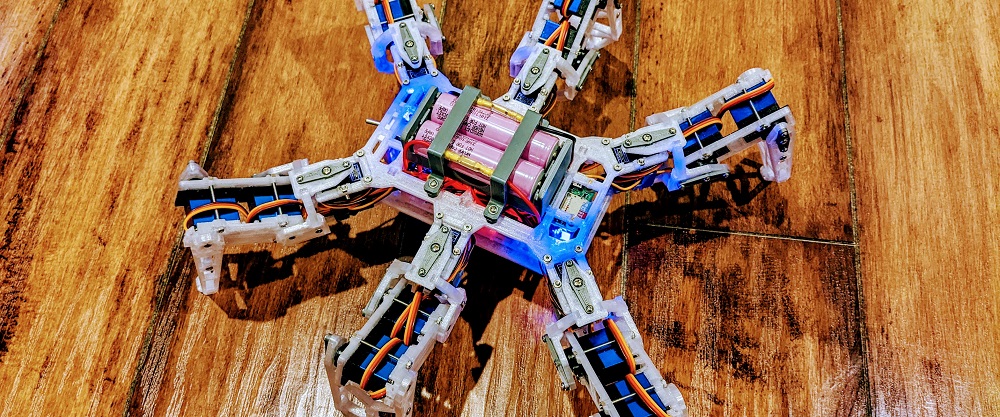
## Introduction
This is a hexapod robot based on [Smallp Tsai](https://github.com/SmallpTsai)'s [hexapod-v2-7697](https://github.com/SmallpTsai/hexapod-v2-7697) project.
This project reused most of the mechanism design in the original project, but with a totally redesign on the circuits and softwares.
The table below shows the difference between this project and the original one.
| | Original hexapod-v2-7697 | This project |
| --------------- | ------------------------ | ----------------------------------------------- |
| Controller | Linkit 7697 | Raspberry Pi Zero W or Raspberry Pi Zero W 2 |
| PWM control | Custom circuit board | 2 x PCA9685 motor driver boards |
| DC-DC | 7 x mini360 modules | 2 x XL4005 5A Max DC-DC modules and 1 x mini360 |
| Power | 2S Lipo battery | 2 x 18650 batteries |
| Remote | BLE | WiFi |
| Remote software | Android and iOS | PC, Android (WIP) |
## Mechanism
### Bill of Materials
#### Servo - MG92B
Servo is the key component. I use TowerPro [MG92B](http://www.towerpro.com.tw/product/mg92b/). It has metal gear (important!).
An hexapod requires 18 of them.
> The dimension of 3d printed part is highly depended on servo's dimension. Modification is required if you want to use other alternative servo.
#### 3D-Printed Parts
##### Body x 1
Filename | Thumbnail | Required |
-------- | --------- | -------- |
body_top | 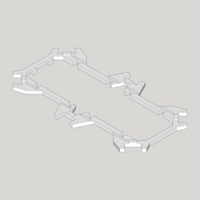 | 1 |
body_bottom | 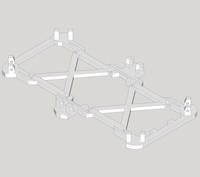 | 1 |
body_center | 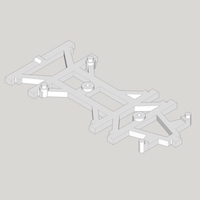 | 1 |
body_side_wall | 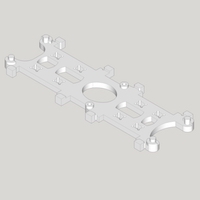 | 2 |
body_back_wall | 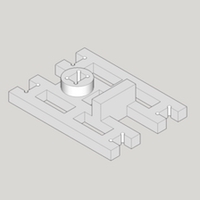 | 1 |
##### Leg x 6
Filename | Thumbnail | Required |
-------- | --------- | -------- |
thigh_top | 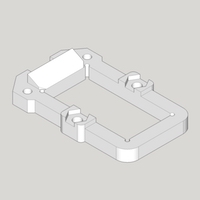 | 1 (x6) |
thigh_bottom | 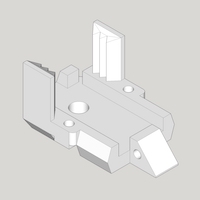 | 1 (x6) |
joint_cross | 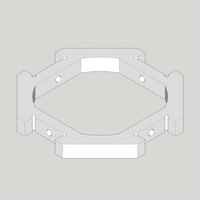 | 1 (x6) |
joint_top | 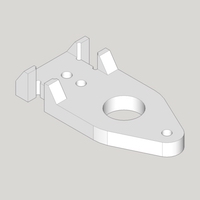 | 2 (x6) |
joint_bottom | 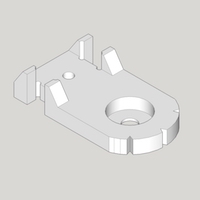 | 2 (x6) |
leg_top | 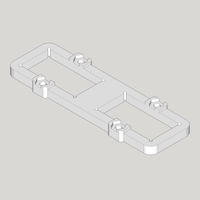 | 1 (x6) |
let_bottom | 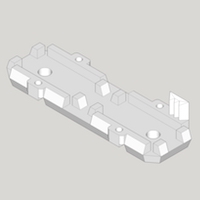 | 1 (x6) |
foot_top | 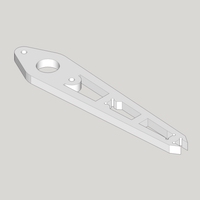 | 1 (x6) |
foot_bottom |  | 1 (x6) |
foot_ground | 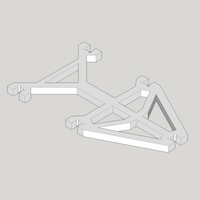 | 1 (x6) |
foot_tip | 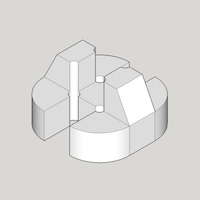 | 1 (x6) |
#### Others
Name | Spec | Thumbnail | Required | Note
---- | ---- | --------- | -------- | ----
Screw | M2 6mm | 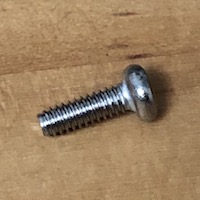 | 54 | Servo Arm: 1 x 18
Hexapod
A Hexapod Robot using Raspberry Pi Zero W

## Introduction
This is a hexapod robot based on [Smallp Tsai](https://github.com/SmallpTsai)'s [hexapod-v2-7697](https://github.com/SmallpTsai/hexapod-v2-7697) project.
This project reused most of the mechanism design in the original project, but with a totally redesign on the circuits and softwares.
The table below shows the difference between this project and the original one.
| | Original hexapod-v2-7697 | This project |
| --------------- | ------------------------ | ----------------------------------------------- |
| Controller | Linkit 7697 | Raspberry Pi Zero W or Raspberry Pi Zero W 2 |
| PWM control | Custom circuit board | 2 x PCA9685 motor driver boards |
| DC-DC | 7 x mini360 modules | 2 x XL4005 5A Max DC-DC modules and 1 x mini360 |
| Power | 2S Lipo battery | 2 x 18650 batteries |
| Remote | BLE | WiFi |
| Remote software | Android and iOS | PC, Android (WIP) |
## Mechanism
### Bill of Materials
#### Servo - MG92B
Servo is the key component. I use TowerPro [MG92B](http://www.towerpro.com.tw/product/mg92b/). It has metal gear (important!).
An hexapod requires 18 of them.
> The dimension of 3d printed part is highly depended on servo's dimension. Modification is required if you want to use other alternative servo.
#### 3D-Printed Parts
##### Body x 1
Filename | Thumbnail | Required |
-------- | --------- | -------- |
body_top |  | 1 |
body_bottom |  | 1 |
body_center |  | 1 |
body_side_wall |  | 2 |
body_back_wall |  | 1 |
##### Leg x 6
Filename | Thumbnail | Required |
-------- | --------- | -------- |
thigh_top |  | 1 (x6) |
thigh_bottom |  | 1 (x6) |
joint_cross |  | 1 (x6) |
joint_top |  | 2 (x6) |
joint_bottom |  | 2 (x6) |
leg_top |  | 1 (x6) |
let_bottom |  | 1 (x6) |
foot_top |  | 1 (x6) |
foot_bottom |  | 1 (x6) |
foot_ground |  | 1 (x6) |
foot_tip |  | 1 (x6) |
#### Others
Name | Spec | Thumbnail | Required | Note
---- | ---- | --------- | -------- | ----
Screw | M2 6mm |  | 54 | Servo Arm: 1 x 18
Joint: 4 x 6
Thigh: 2 x 6
Screw | M2 10mm |  | 24 | Thigh: 1 x 6
Pin lock: 1 x 18
Screw | M2 30mm | 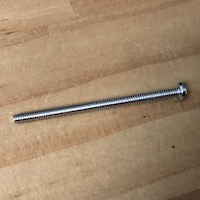 | 36 | Servo: 2 x 18
Nuts | M2 | 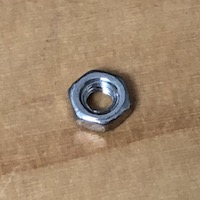 | 36 | Servo: 2 x 18
Pin (304) | M4 6mm | 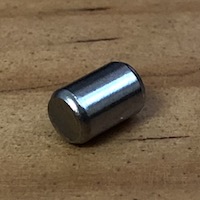 | 18 | Servo: 1 x 18
### Leg Assemble
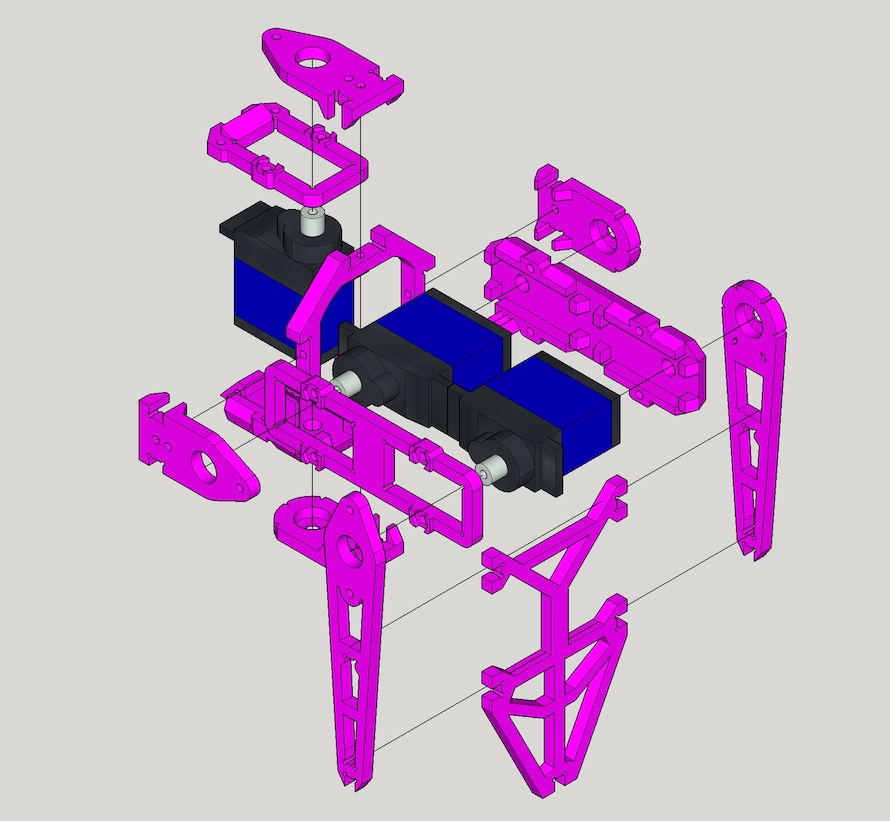
Please check [Leg Assemble](LEG.md) for more detail instructions
Leg assembly instruction video https://youtu.be/oaAE5fC09KQ is also available.
 > Note. Total 6 Legs are required.
## Skill requirement
If you want to make one hexapod by yourself. You should at least knows how to:
* Mechanism part
* Use `3D printer` to print a model.
* Able to adjust 3D model to fit your custom need.
* Electronics
* Make a `PCB` (suggest to use professional PCB services)
* Soldering `SMD` component (0805 and TSSOP28)
* How to use/charge/store `LIPO batteries`
* Software
* Use `Linkit 7697` (ie. upload and run any program)
* Use `LRemote` to communicate 7697 and your mobile phone
## Table of Content
1. [Mechanism](mechanism/) - How to build the body
1. [Electronics](electronics/) - Circuit explanation
1. [Software](software/) - The software running on Linkit 7697
> Note. Total 6 Legs are required.
## Skill requirement
If you want to make one hexapod by yourself. You should at least knows how to:
* Mechanism part
* Use `3D printer` to print a model.
* Able to adjust 3D model to fit your custom need.
* Electronics
* Make a `PCB` (suggest to use professional PCB services)
* Soldering `SMD` component (0805 and TSSOP28)
* How to use/charge/store `LIPO batteries`
* Software
* Use `Linkit 7697` (ie. upload and run any program)
* Use `LRemote` to communicate 7697 and your mobile phone
## Table of Content
1. [Mechanism](mechanism/) - How to build the body
1. [Electronics](electronics/) - Circuit explanation
1. [Software](software/) - The software running on Linkit 7697