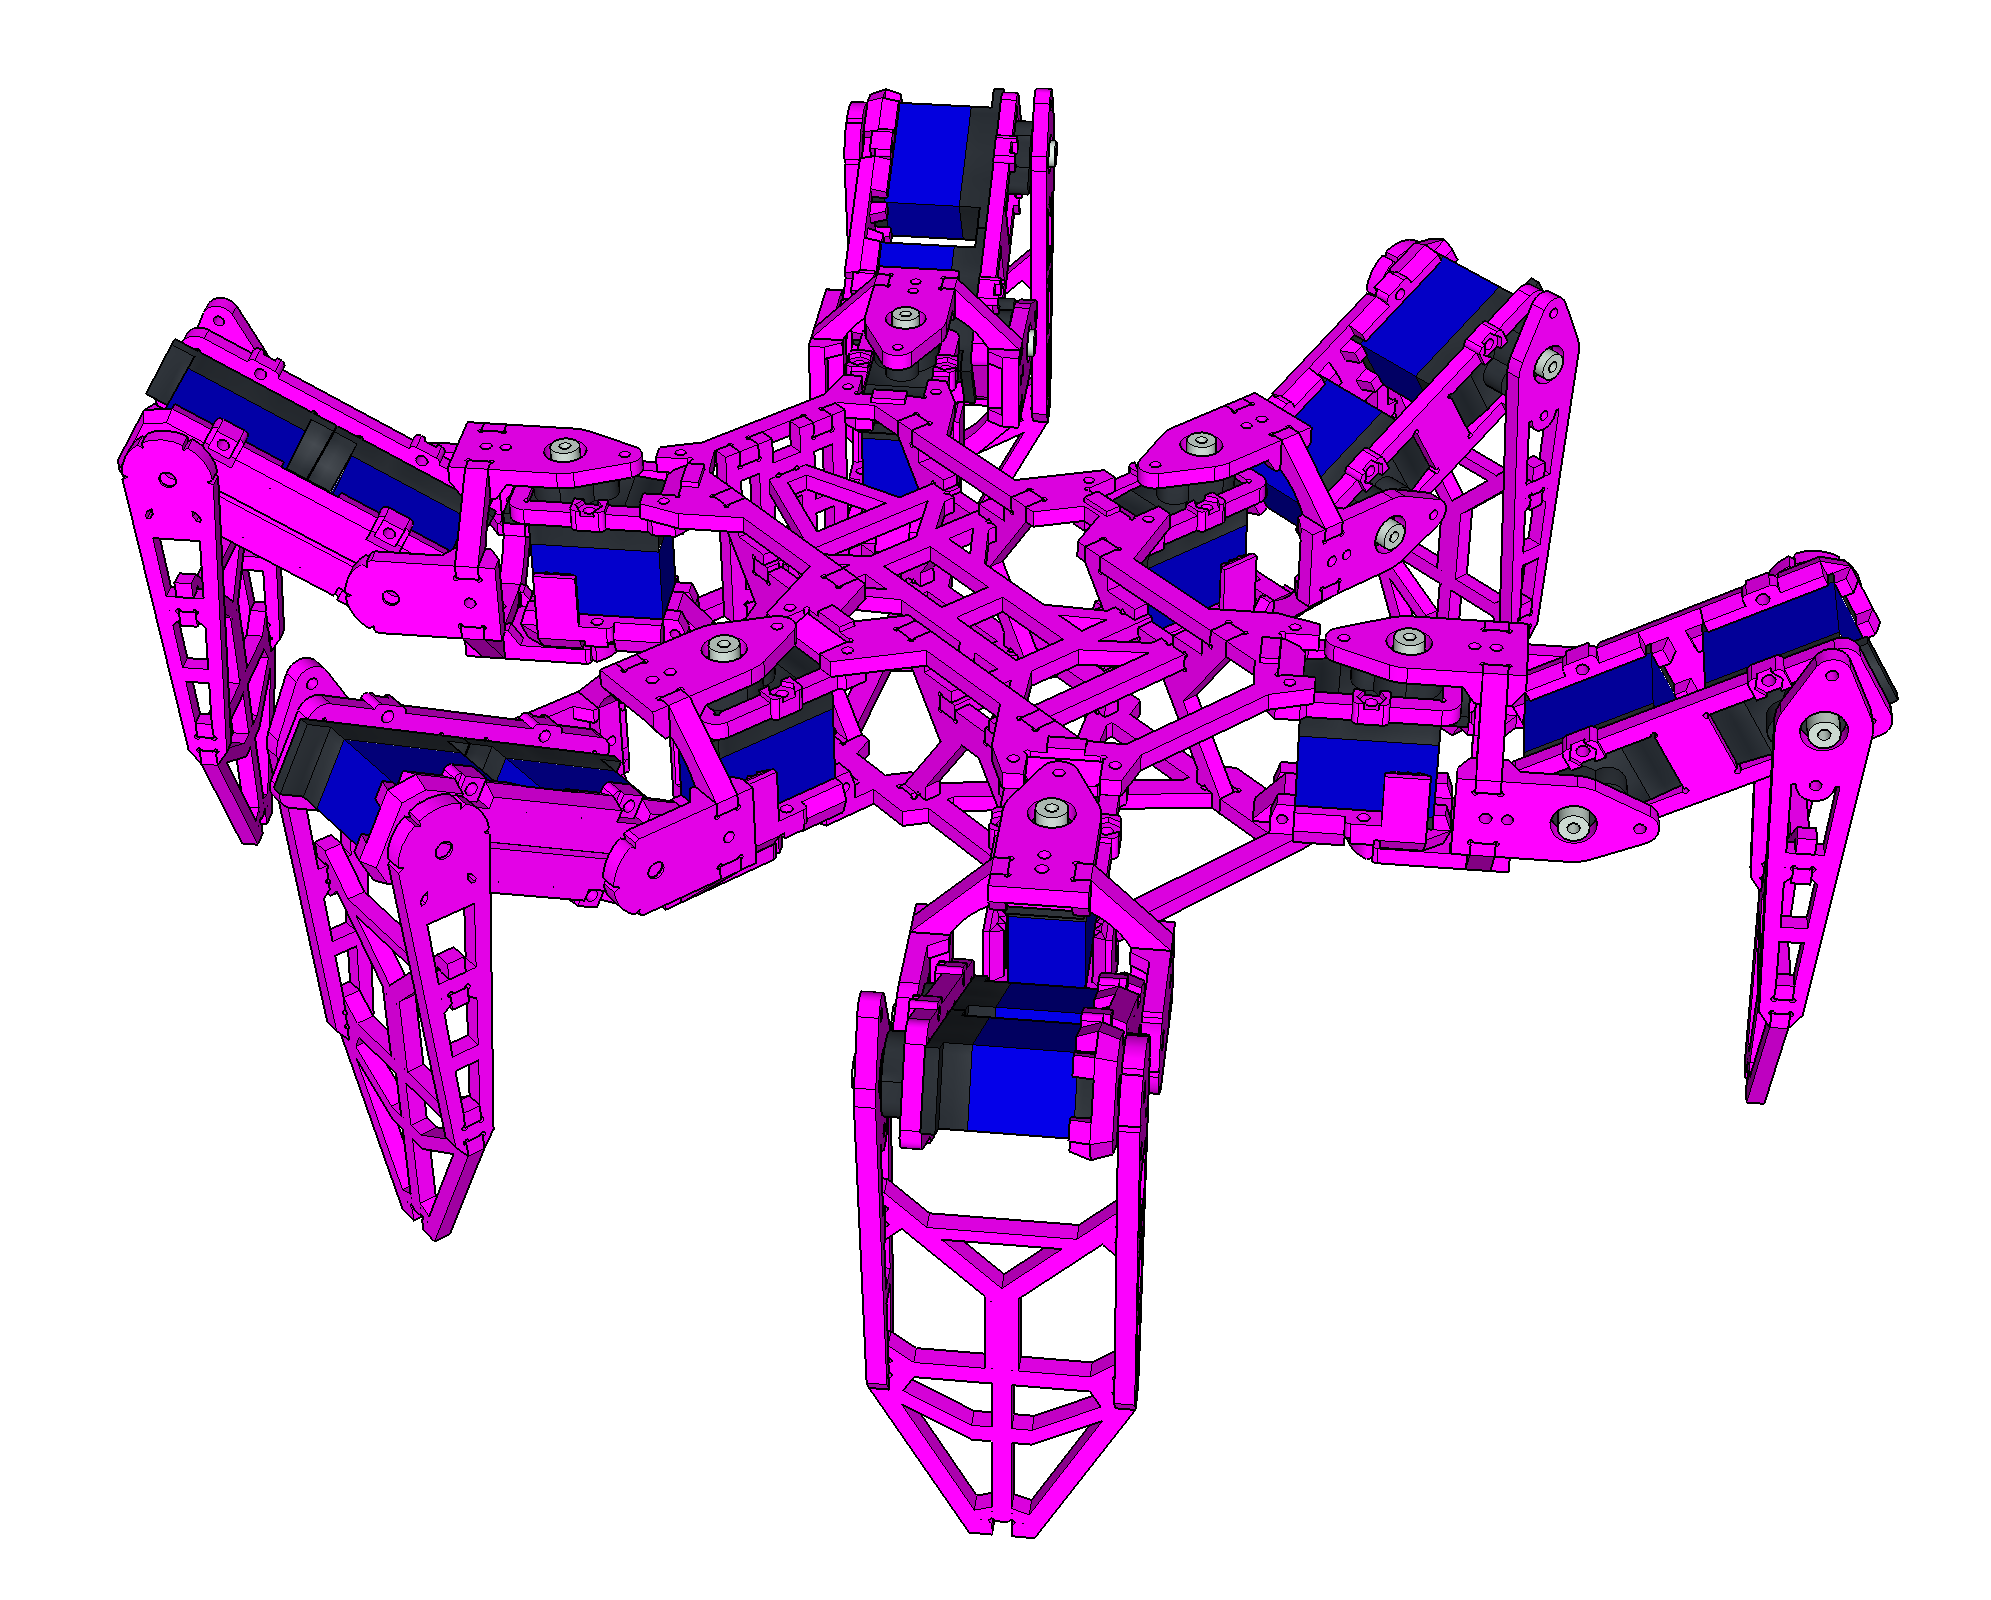
Mechanism
Bill of Materials
Servo - MG92B
Servo is the key component. I use TowerPro MG92B. It has metal gear (important!). An hexapod requires 18 of them.
The dimension of 3d printed part is highly depended on servo's dimension.
Modification is required if you want to use other alternative servo.
TowerPro MG92B can be found on Ebay seller servohorns959, which is listed on TowerPro official website ([Link] (http://www.towerpro.com.tw/about-us-2/)).
I also got mime servo from him.
3D-Printed Parts
Body x 1
| Filename | Thumbnail | Required |
|---|---|---|
| body_top | 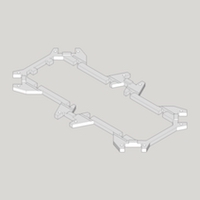 |
1 |
| body_bottom | 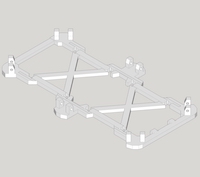 |
1 |
| body_center | 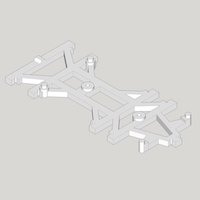 |
1 |
| body_side_wall | 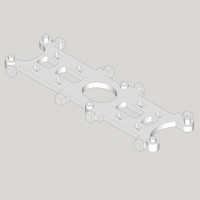 |
2 |
| body_back_wall | 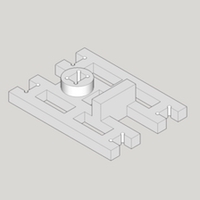 |
1 |
Leg x 6
Others
Leg Assemble
Leg Assemble Instruction
Leg assembly instruction video https://youtu.be/oaAE5fC09KQ is also available.

Preparation
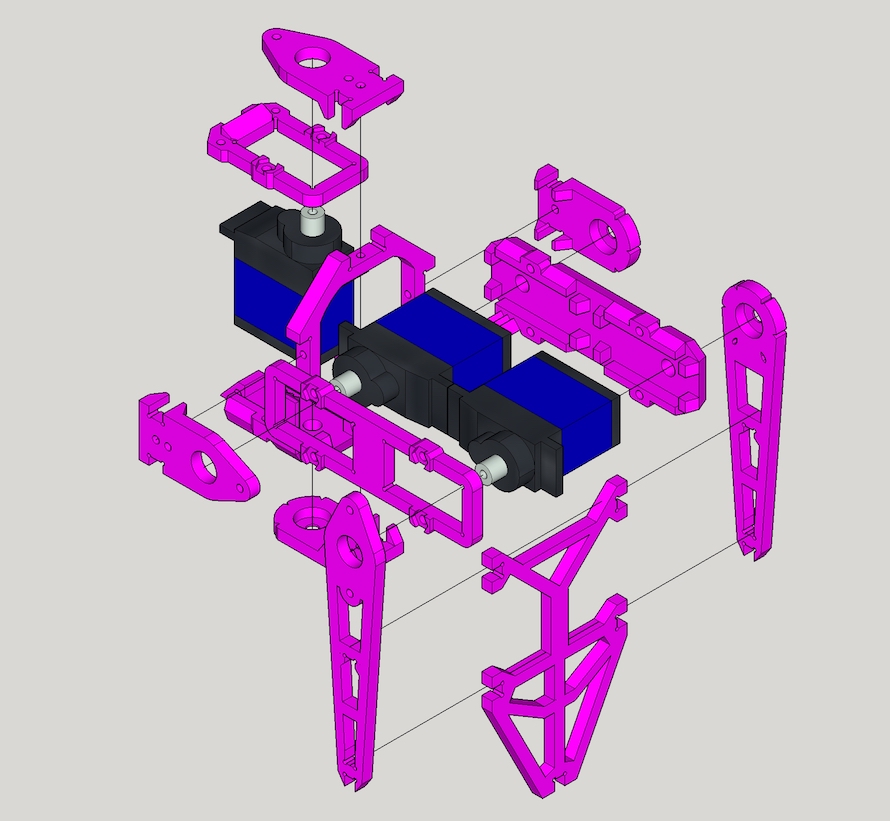
For one leg, you will need 3 MG92B servo and below printed parts
| Filename | Thumbnail | Required |
|---|---|---|
| thigh_top | 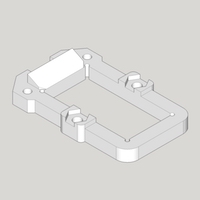 |
1 |
| thigh_bottom | 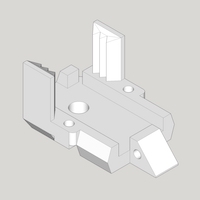 |
1 |
| joint_cross | 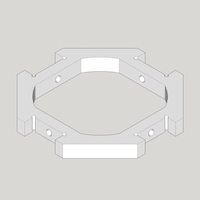 |
1 |
| joint_top | 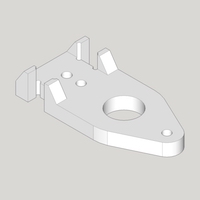 |
2 |
| joint_bottom | 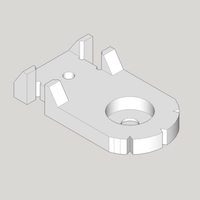 |
2 |
| leg_top | 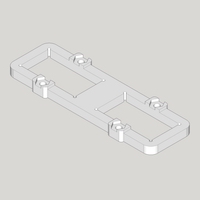 |
1 |
| let_bottom | 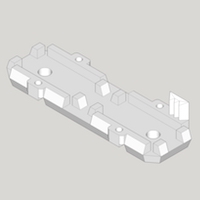 |
1 |
| foot_top | 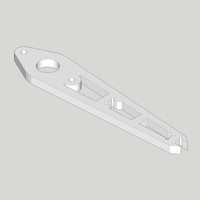 |
1 |
| foot_bottom | 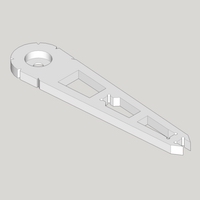 |
1 |
| foot_ground | 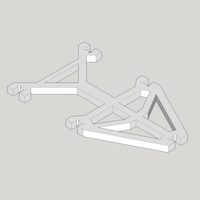 |
1 |
| foot_tip | 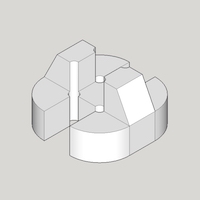 |
1 |
Step 1
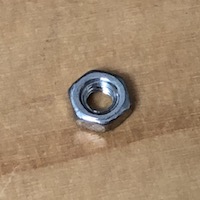
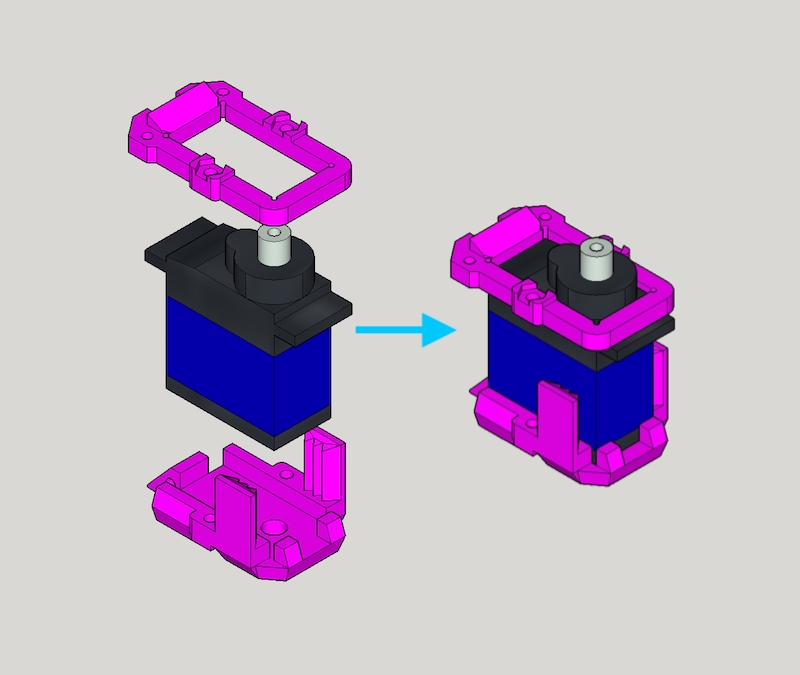
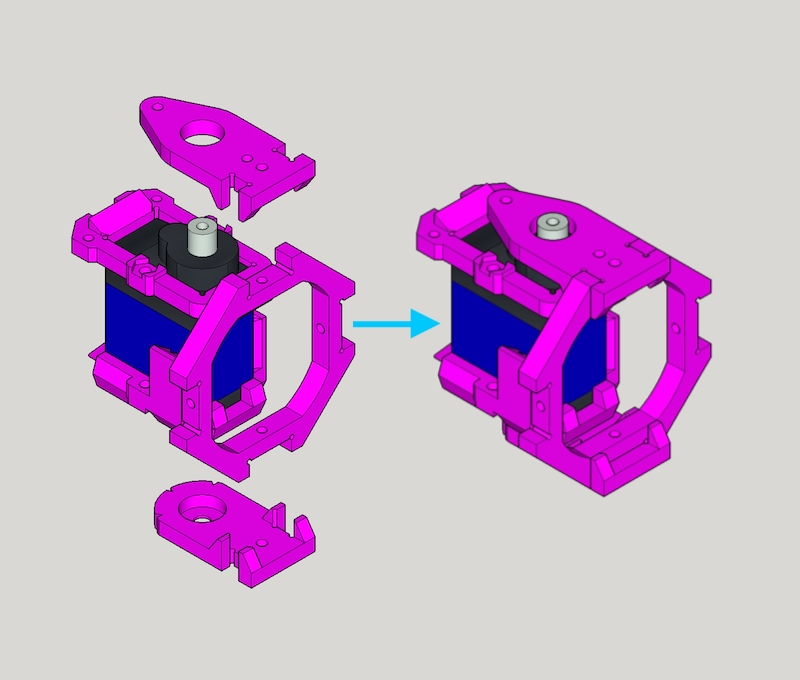
Combine thigh_top, MG92B and thigh_bottom, use M2x30mm screw and nut to secure them together.
Step 2
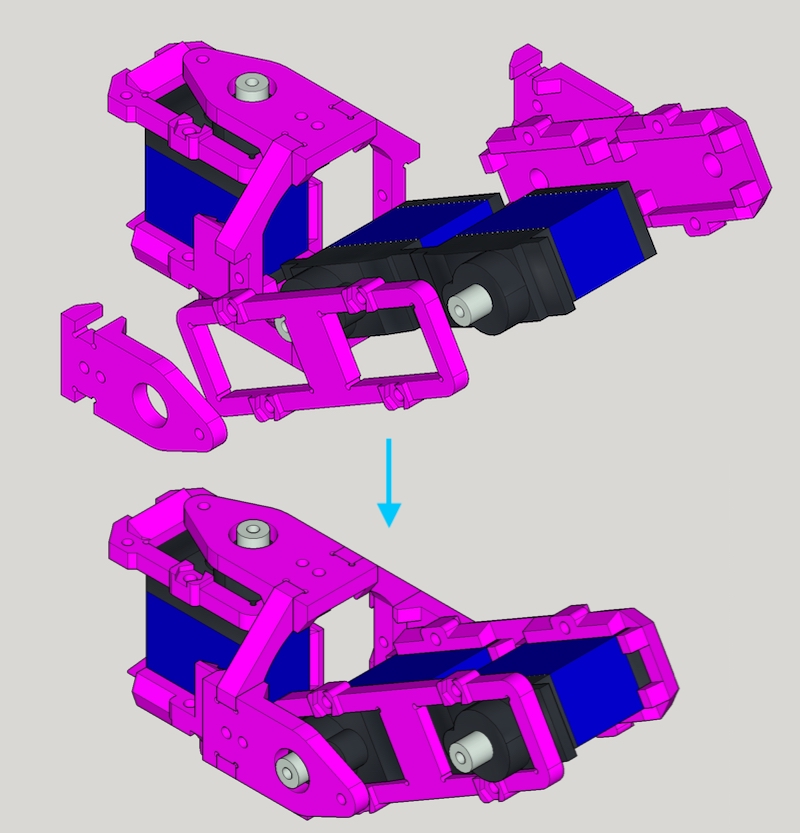
Grab one joint_cross, joint_top and joint_bottom and combine them
Step 3
First put 2 x MG92B, leg_top and leg_bottom together with M2x30mm screw and nut.
Then attach joint_top and joint_bottom altogether
Step 4
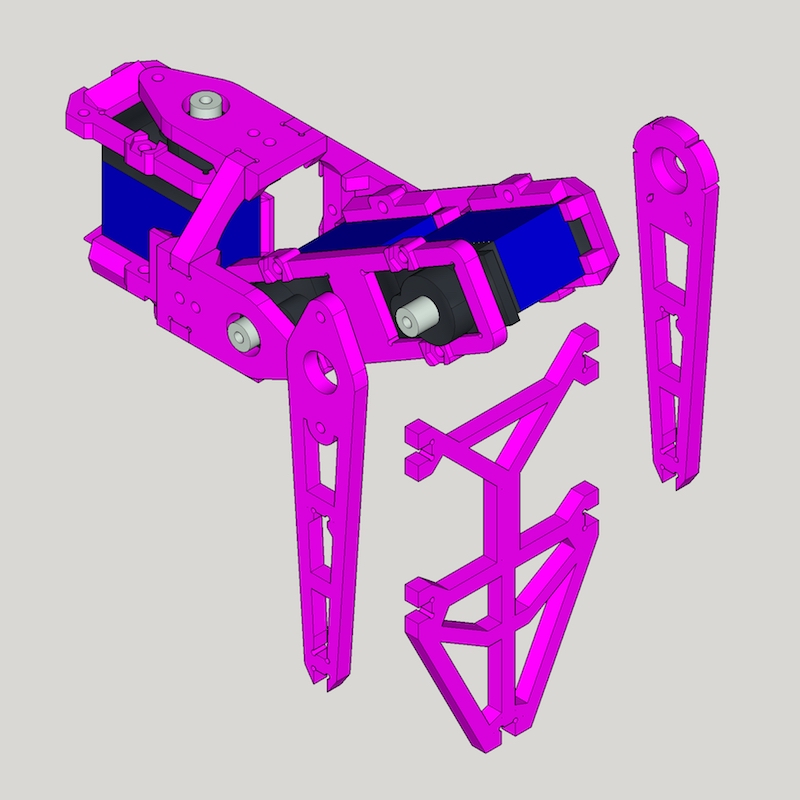
Grab foot_top, foot_bottom and foot_ground (and foot_top) and assemble them.
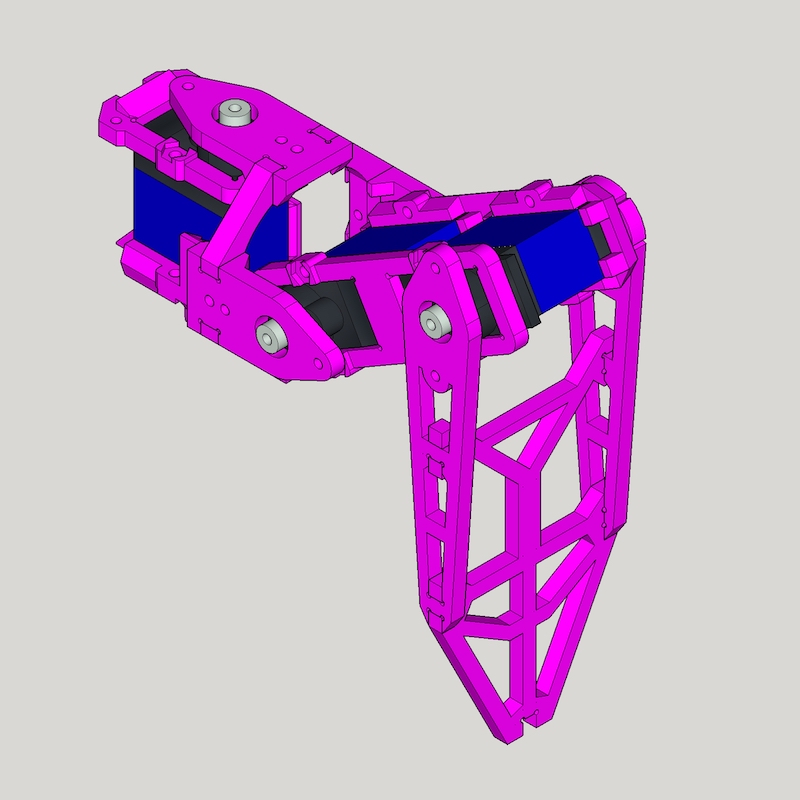
Finish!
Great, you got 1 leg done, 5 more to go :)
Leg assembly instruction video https://youtu.be/oaAE5fC09KQ is also available.

Note. Total 6 Legs are required.
