d6fa56dcbc0e1323a7f9967a7791384cb77d90b1
 Hexapod
A Hexapod Robot using Raspberry Pi Zero W
Introduction
This is a hexapod robot based on Smallp Tsai's hexapod-v2-7697 project. This project reused most of the mechanical design in the original project, but with a full redesign of the circuits and software. The table below shows the difference between this project and the original one.
| Original hexapod-v2-7697 | This project | |
|---|---|---|
| Controller | Linkit 7697 | Raspberry Pi Zero W or Raspberry Pi Zero W 2 |
| PWM control | Custom circuit board | 2 x PCA9685 motor driver boards |
| DC-DC | 7 x mini360 modules | 2 x XL4005 5A Max DC-DC modules and 1 x mini360 |
| Power | 2S Lipo battery | 2 x 18650 batteries |
| Remote | BLE | WiFi |
| Remote software | Android and iOS | PC, Android (WIP) |
Mechanism
Bill of Materials (BOM)
Servos
18 TowerPro MG92B are required.
The dimension of 3d printed part is highly dependent on the servo's size. Modification is required if you want to use alternative servos.
3D-Printed Parts
Body x 1
| Filename | Thumbnail | Required |
|---|---|---|
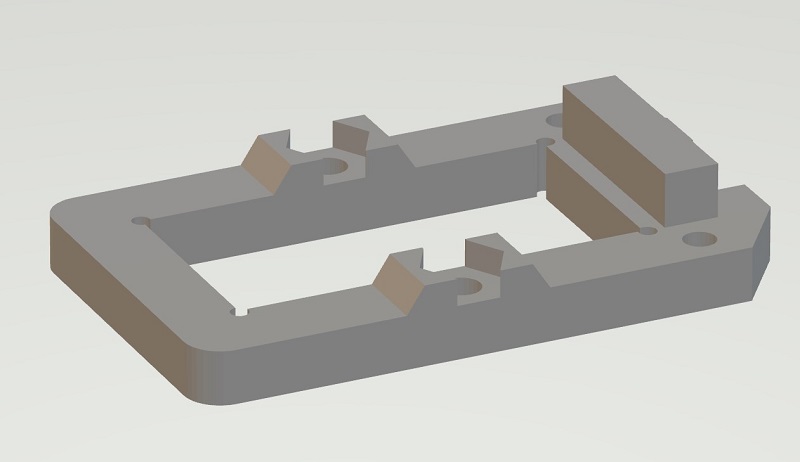
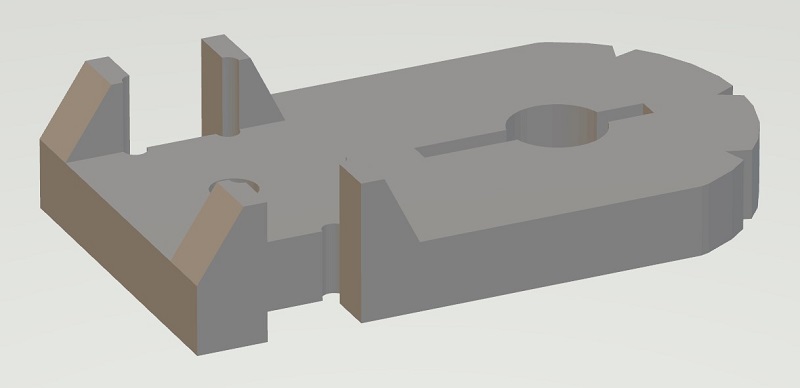
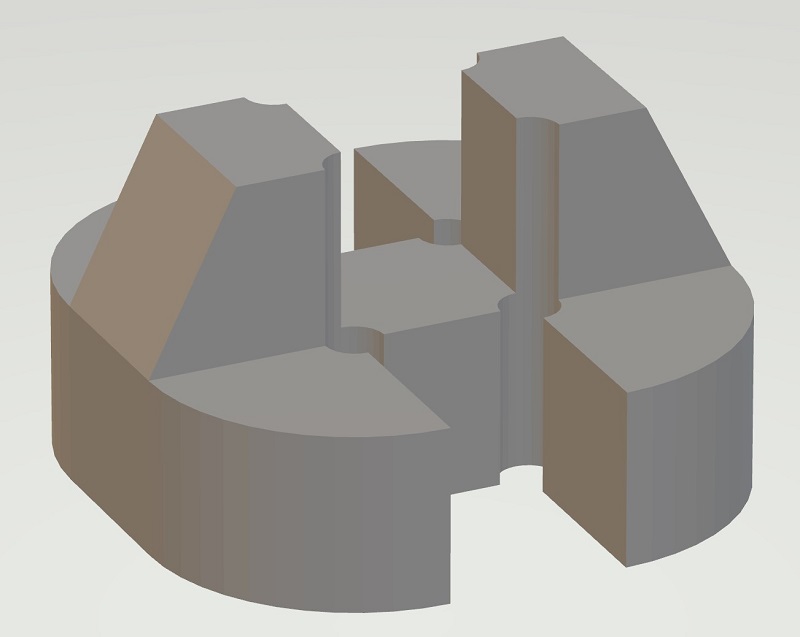
| body_top | 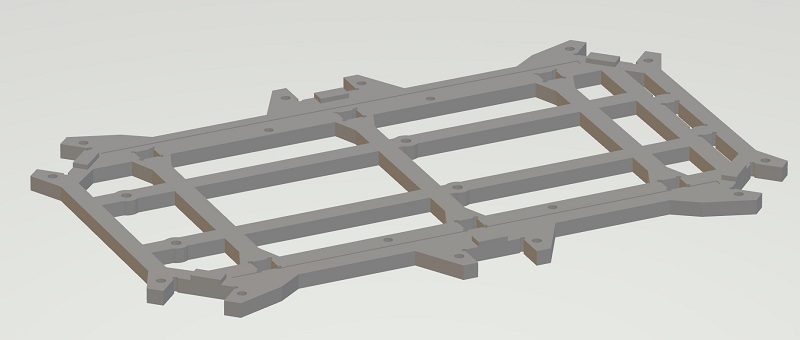 |
1 |
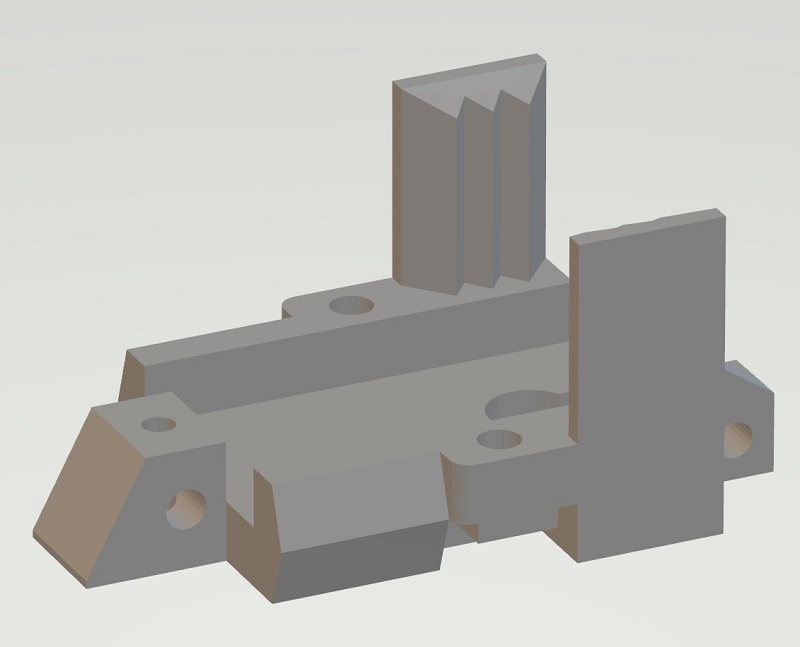
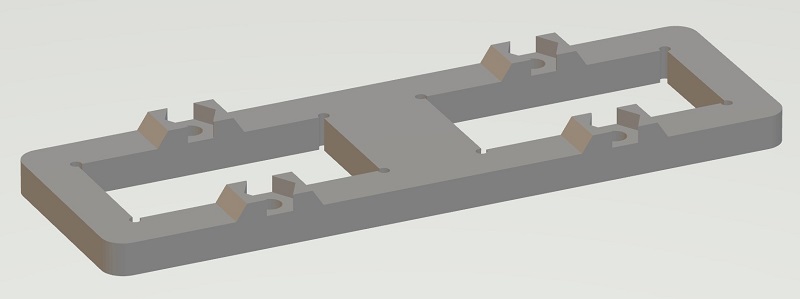
| body_bottom | 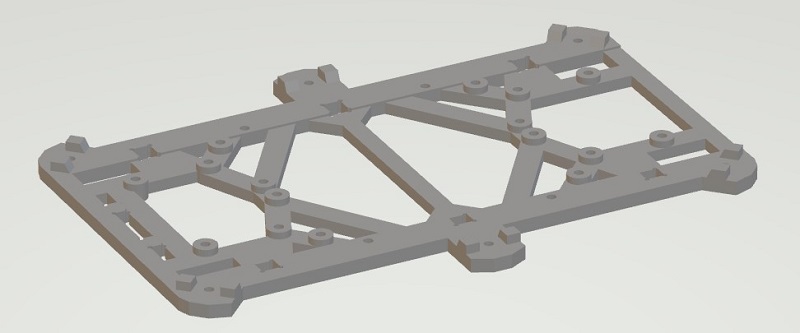 |
1 |
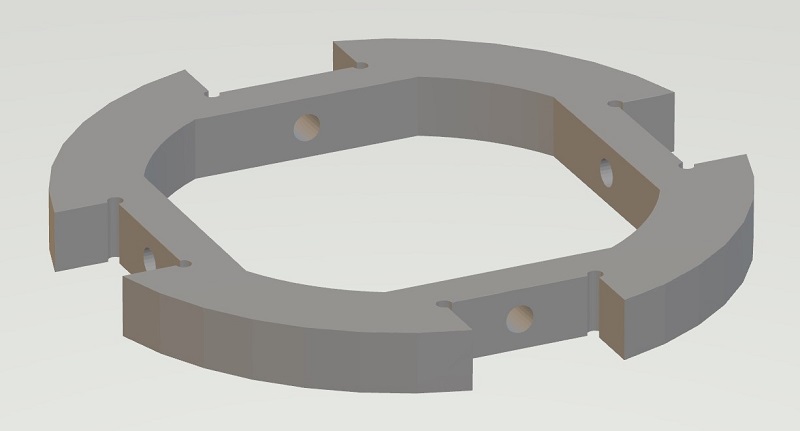
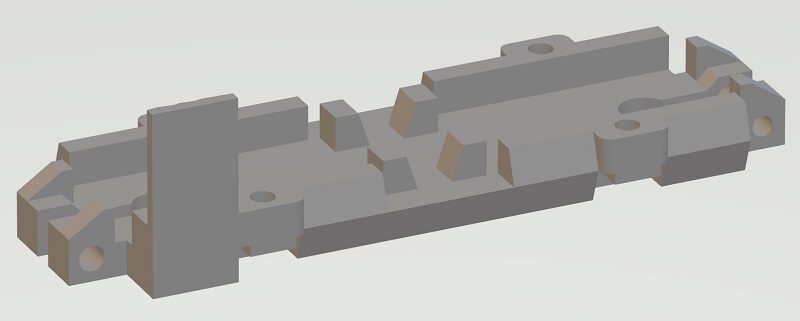
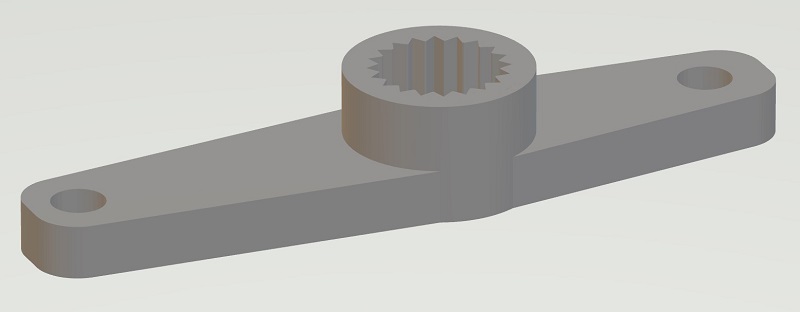
| body_side_wall | 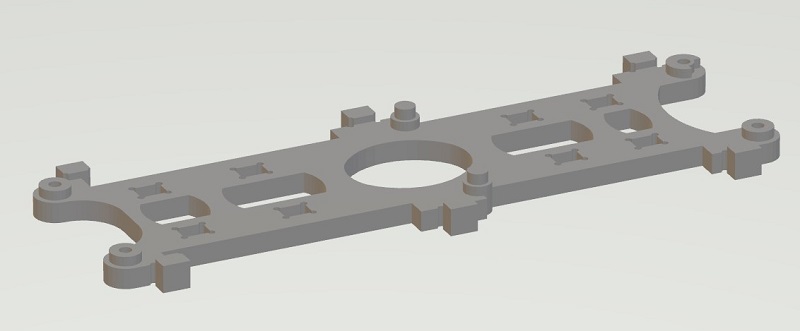 |
2 |
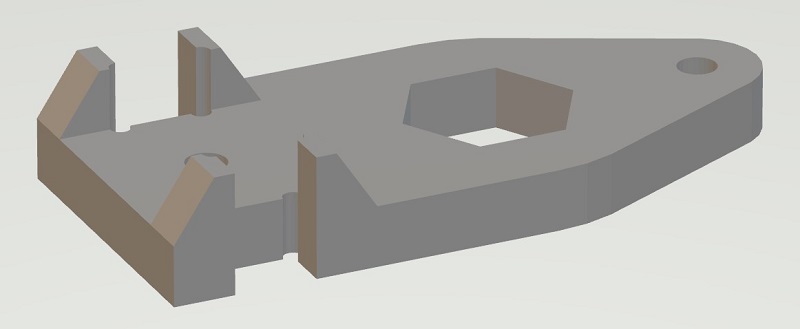
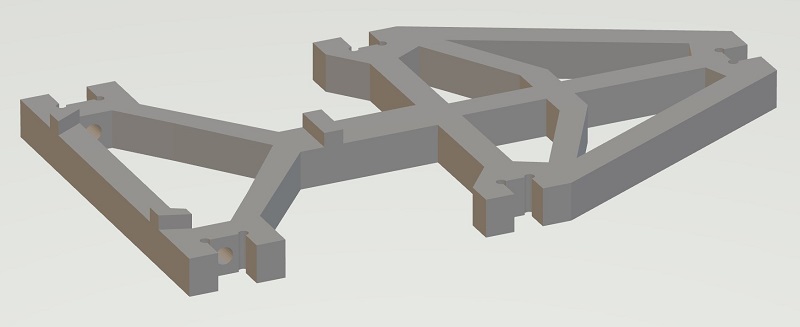
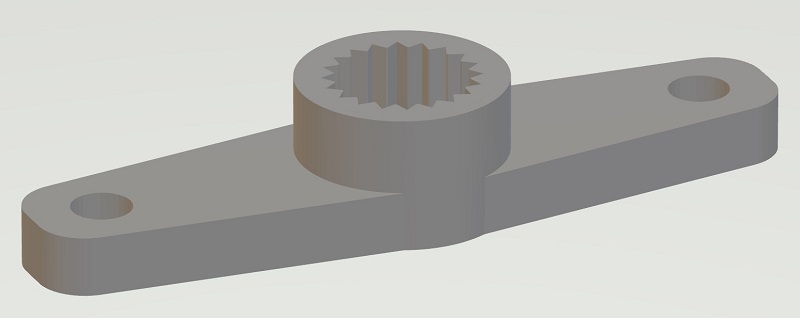
| body_back_wall | 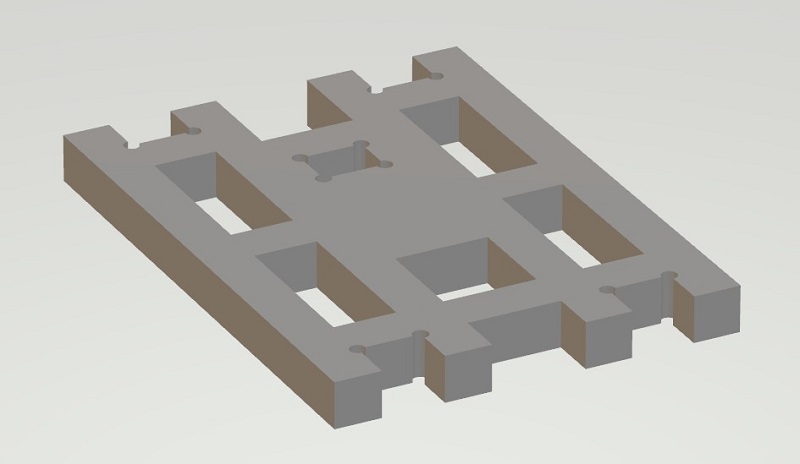 |
1 |
| battery_box | 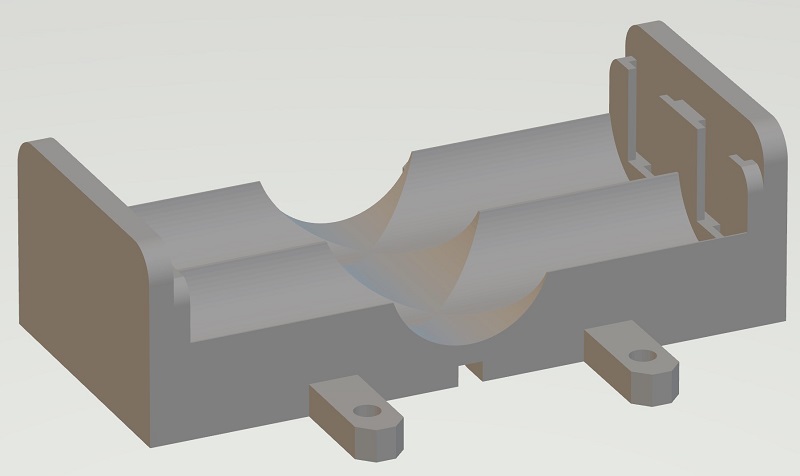 |
1 |
| battery_holder | 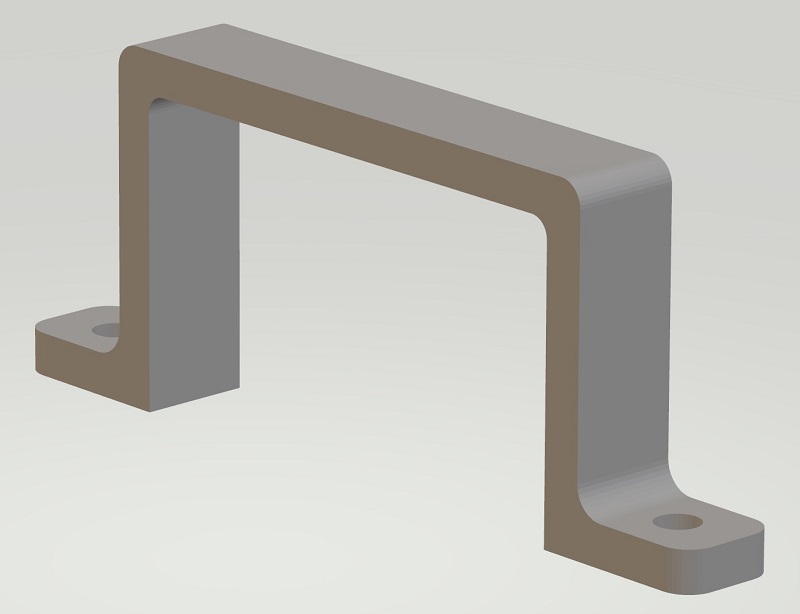 |
2 |
Leg x 6
Others
Leg Assemble
Assembly video
Exploded view
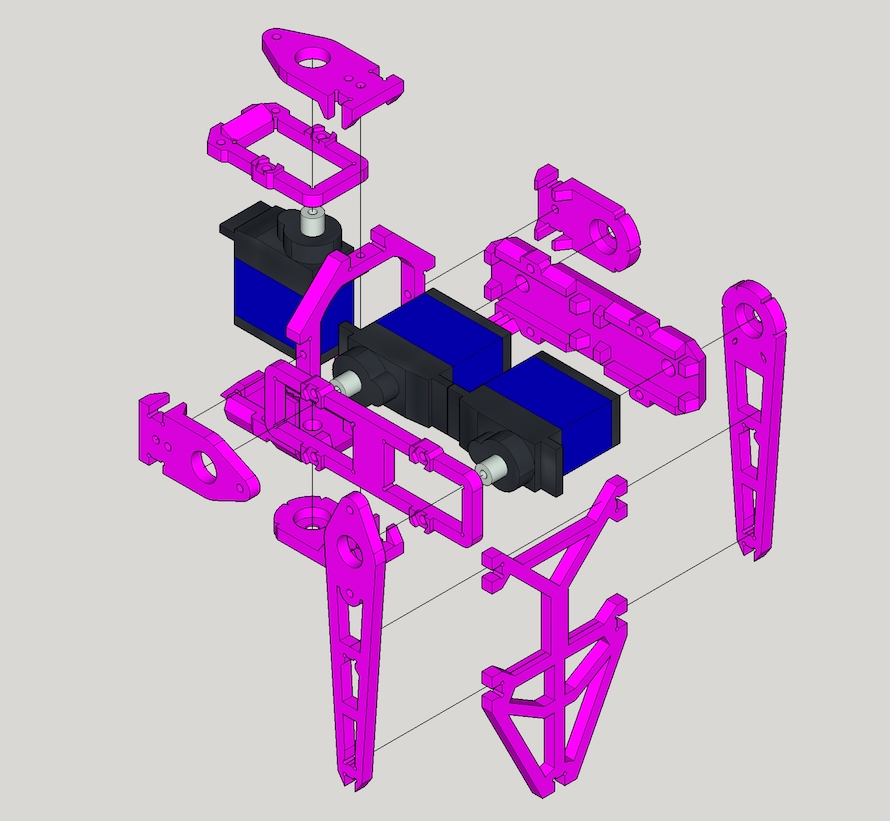
Detailed steps
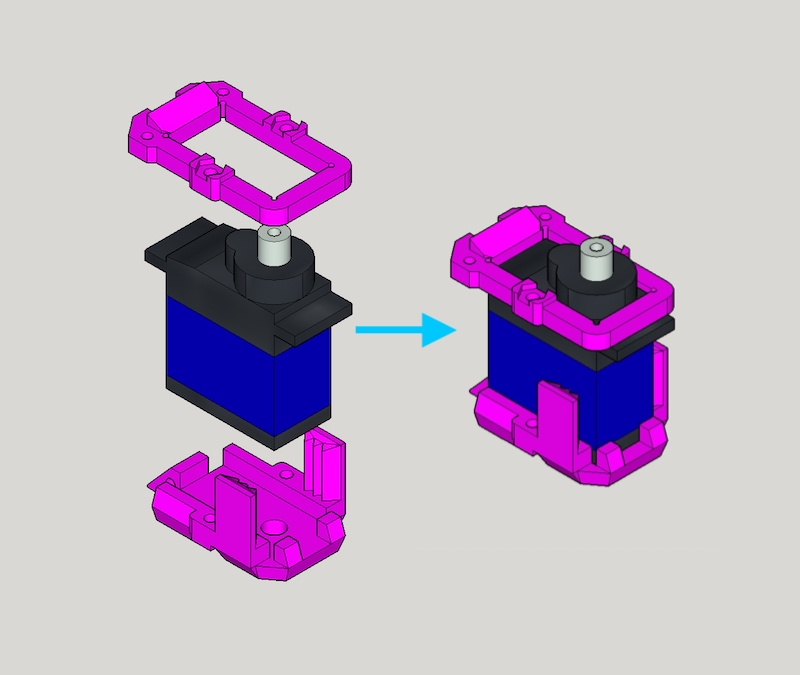
- Step 1 - Combine
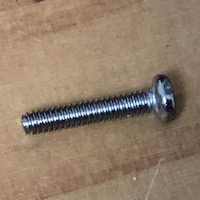
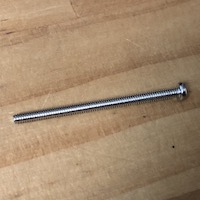
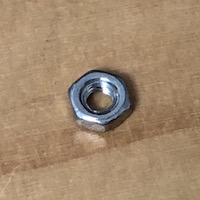
thigh_top,MG92Bandthigh_bottom, use M2x30mm screw and nut to secure them together.
- Step 2 - Grab one
joint_cross,joint_topandjoint_bottomand combine them
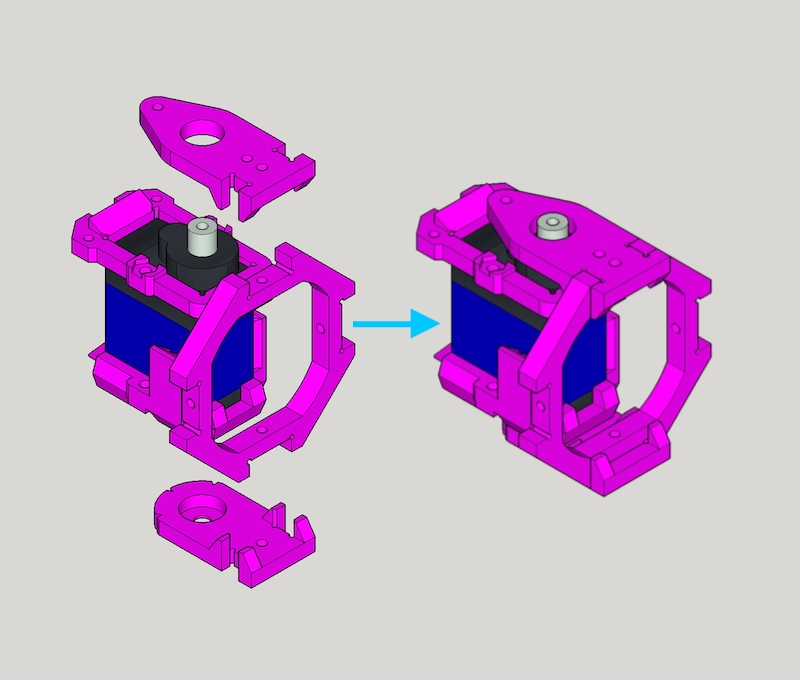
- Step 3 - First put 2 x
MG92B,leg_topandleg_bottomtogether with M2x30mm screw and nut. Then attachjoint_topandjoint_bottomaltogether
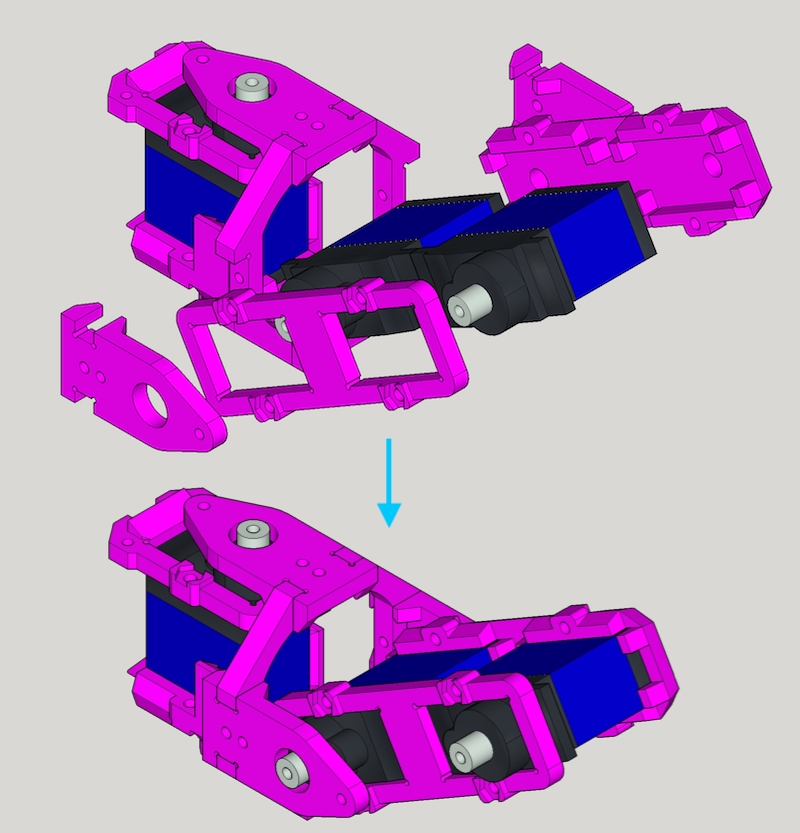
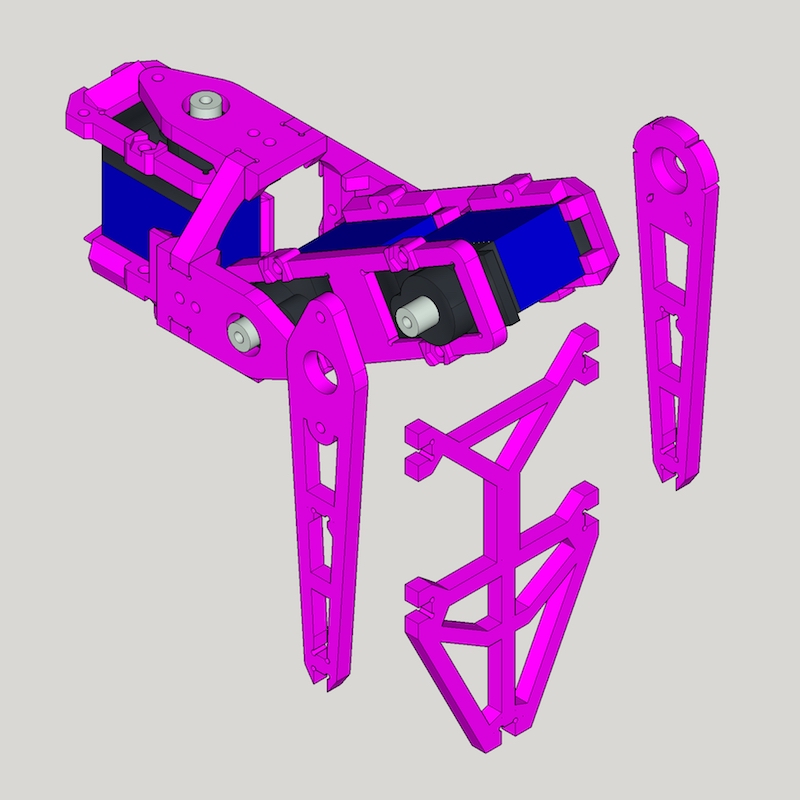
- Step 4 - Grab
foot_top,foot_bottomandfoot_ground(andfoot_top) and assemble them.
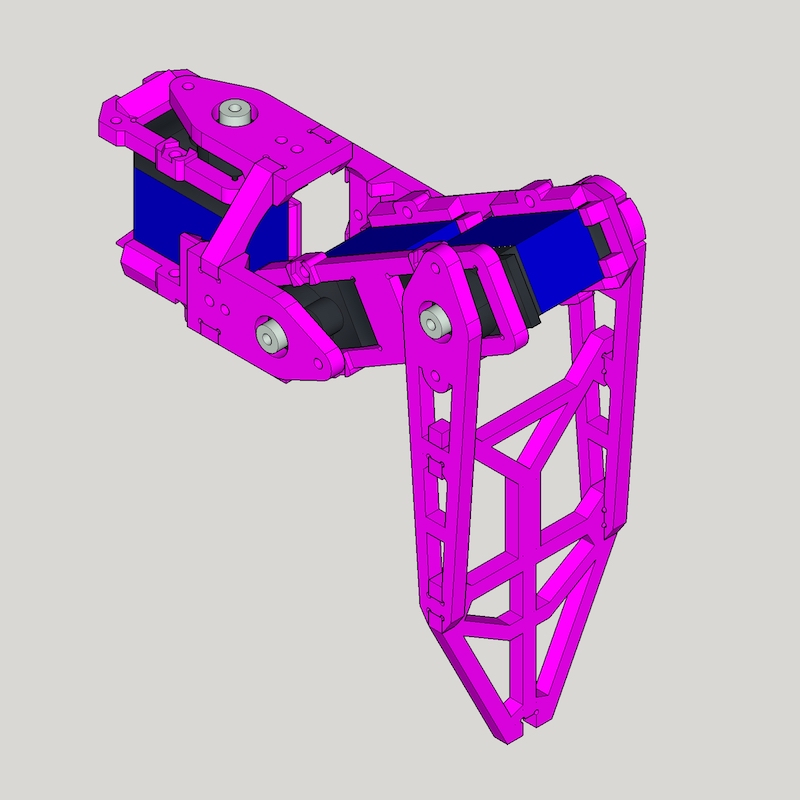
- Finish - Great, you got 1 leg done, 5 more to go :)
Electronics
Bill of Materials (BOM)
| Name | Thumbnail | Required |
|---|---|---|
| Raspberry Pi Zero W or W 2 | 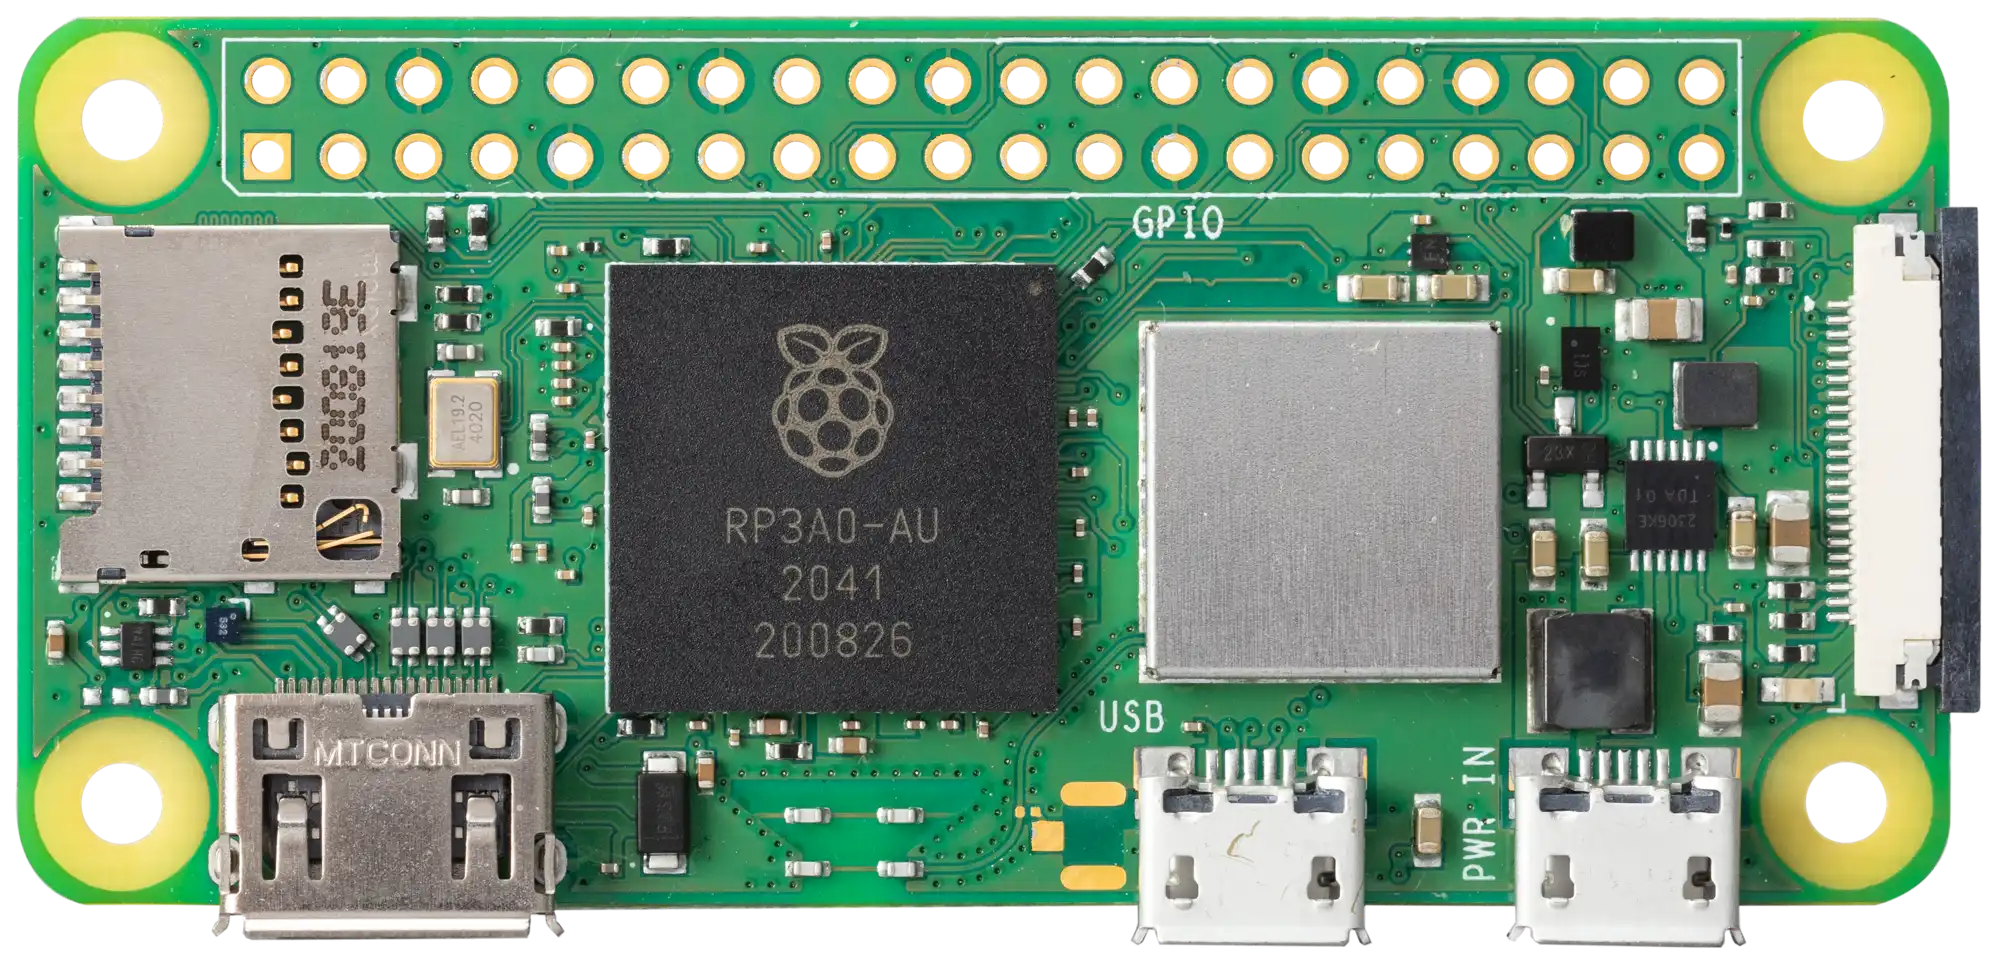 |
1 |
| PCA9685 motor driver | 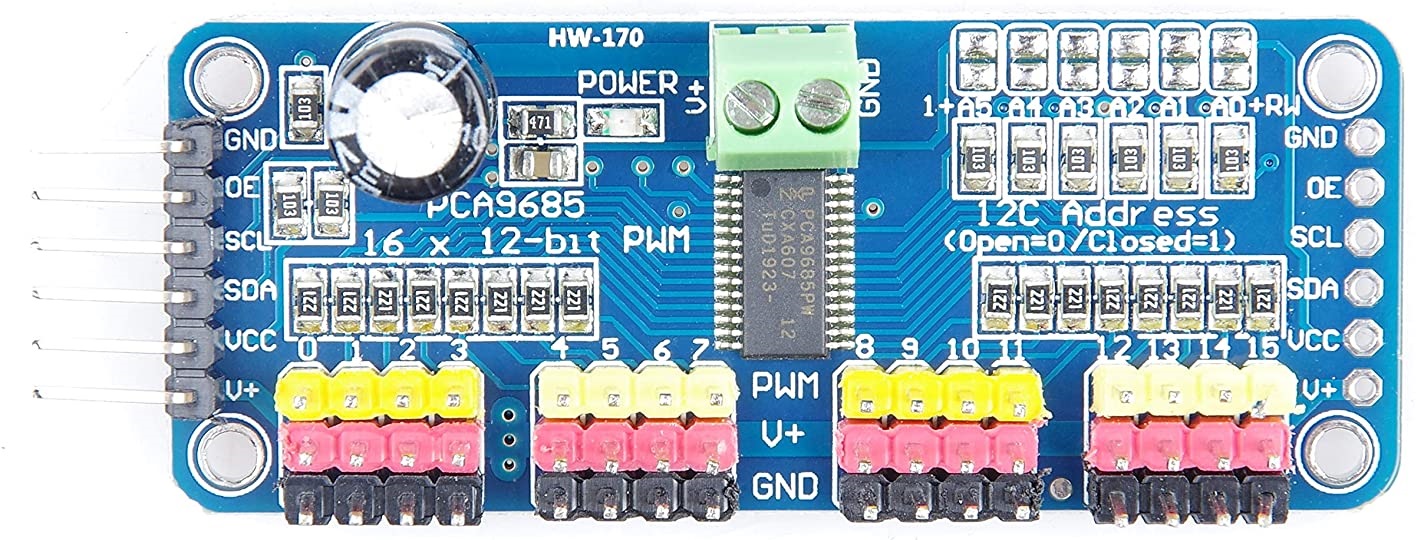 |
2 |
| XL4005 DC-DC step down |  |
2 |
| Mini 360 DC-DC step down | 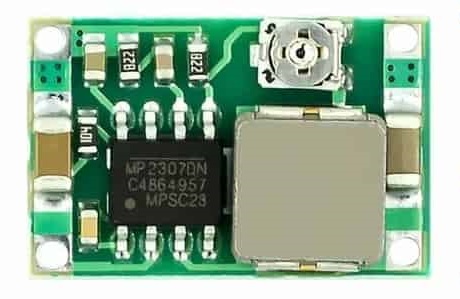 |
1 |
| Toggle switch | 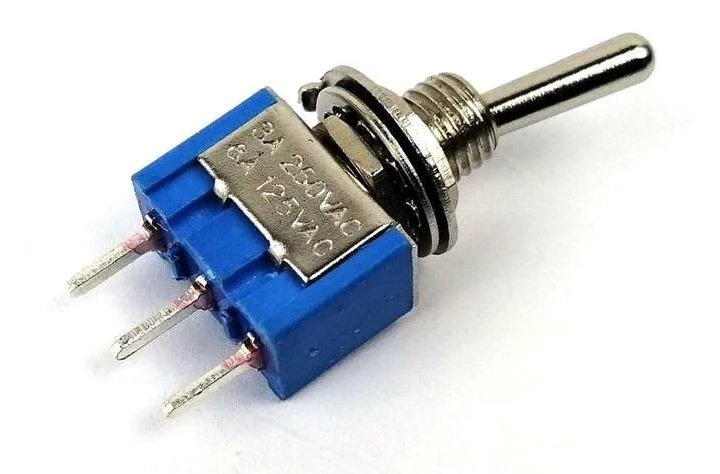 |
1 |
Connection Diagram

Software
Description
Languages
Python
65.7%
Kotlin
34.3%

