You cannot select more than 25 topics
Topics must start with a letter or number, can include dashes ('-') and can be up to 35 characters long.
4.6 KiB
4.6 KiB
Mechanism
Bill of Materials (BOM)
Servos
18 TowerPro MG92B are required.
The dimension of 3d printed part is highly dependent on the servo's size. Modification is required if you want to use alternative servos.
3D-Printed Parts
Body x 1
| Filename | Thumbnail | Required |
|---|---|---|
| body_top | 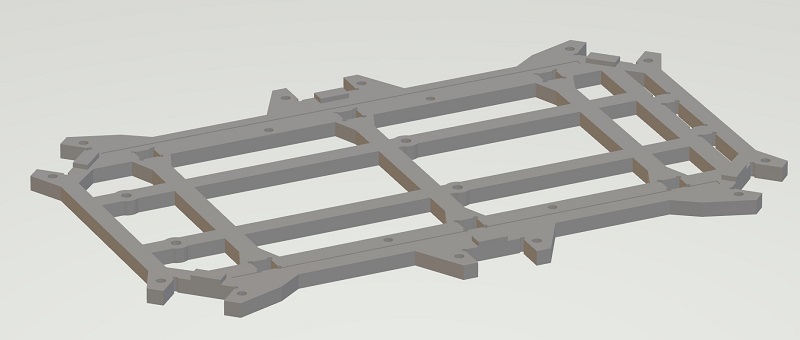 |
1 |
| body_bottom | 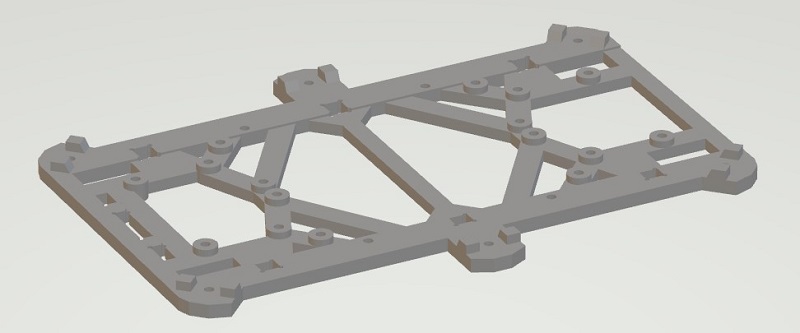 |
1 |
| body_side_wall | 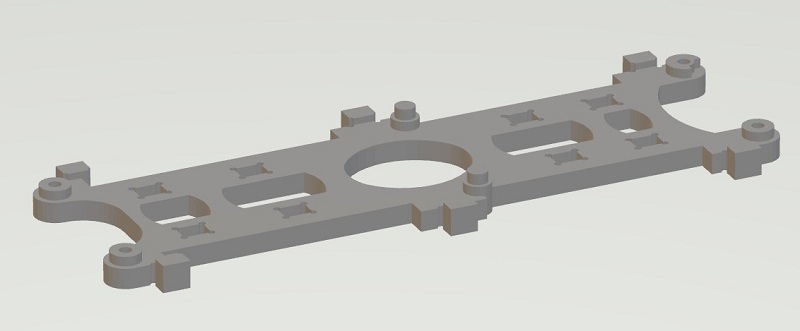 |
2 |
| body_back_wall | 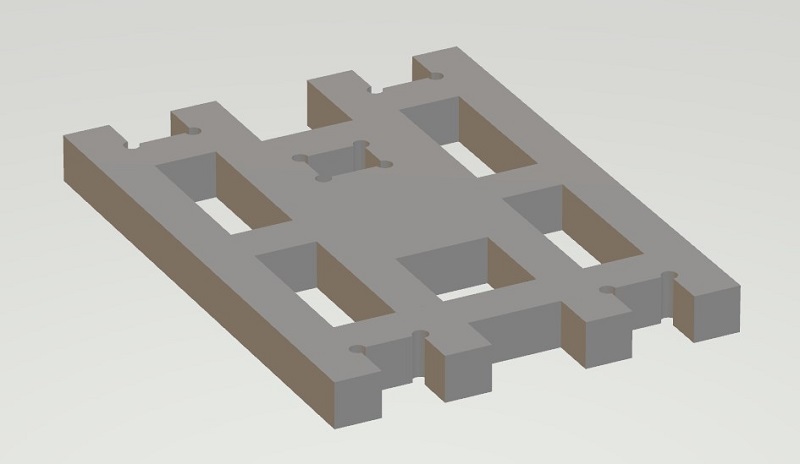 |
1 |
| battery_box | 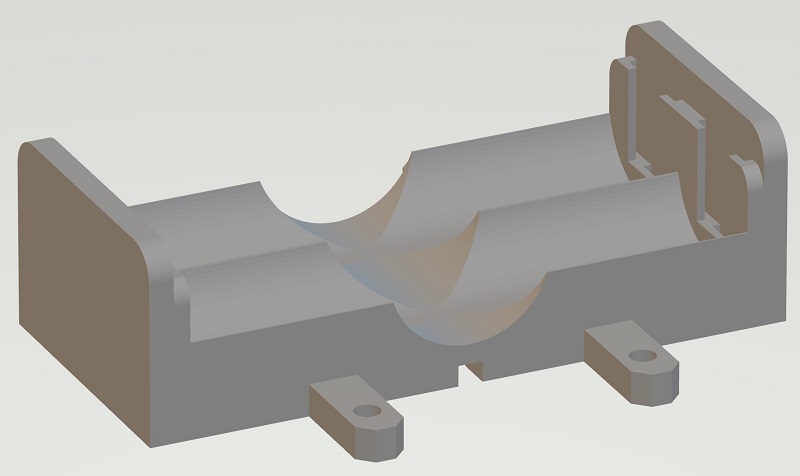 |
1 |
| battery_holder | 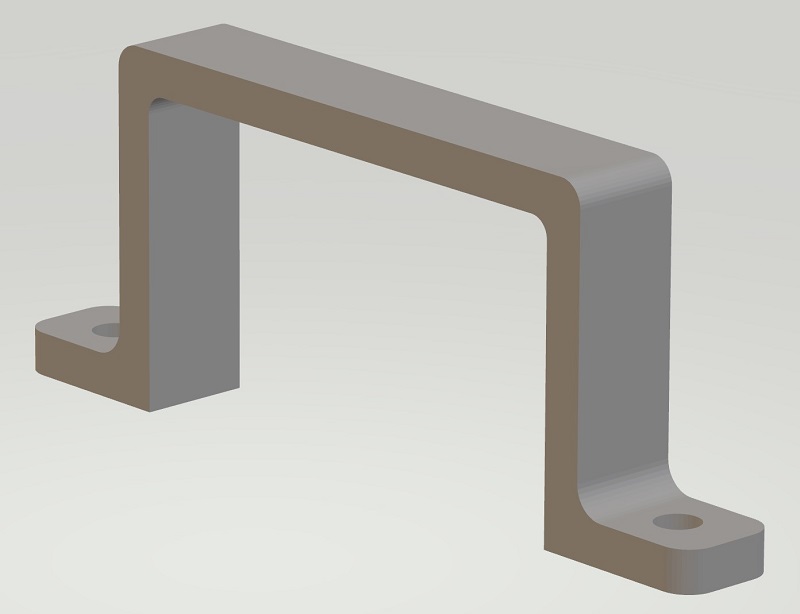 |
2 |
Leg x 6
| Filename | Thumbnail | Required |
|---|---|---|
| thigh_top | 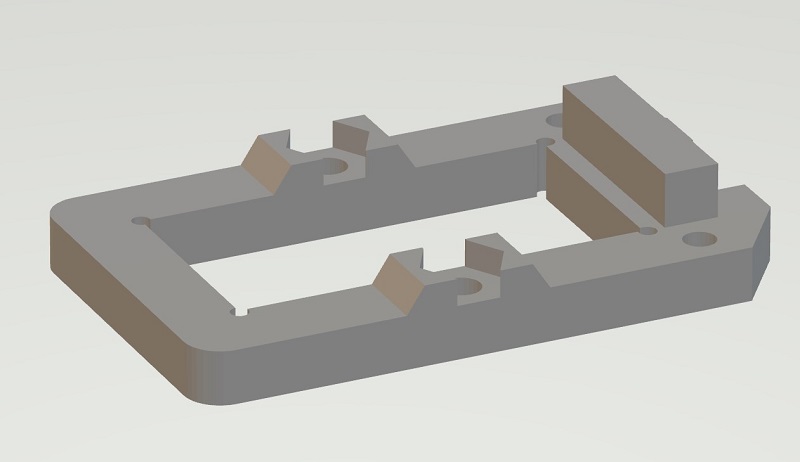 |
1 (x6) |
| thigh_bottom | 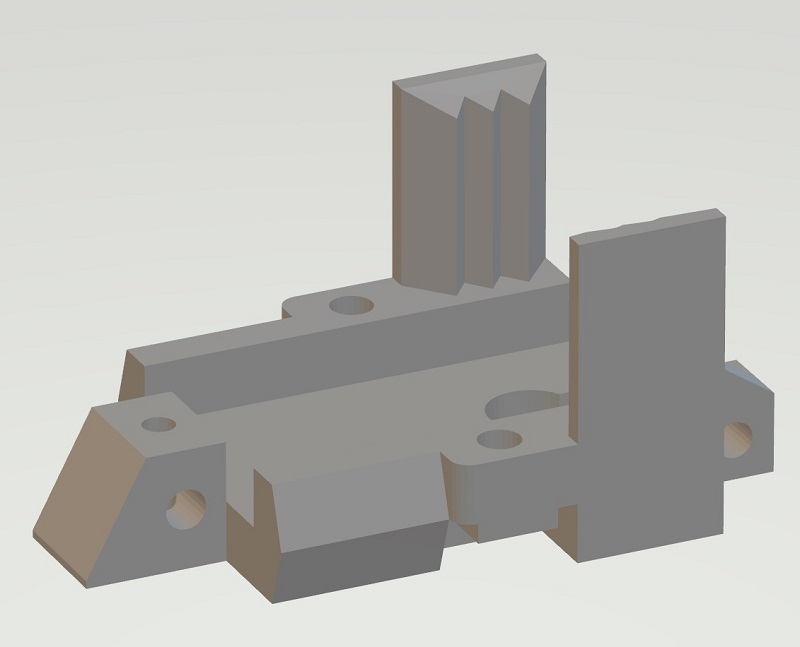 |
1 (x6) |
| joint_cross | 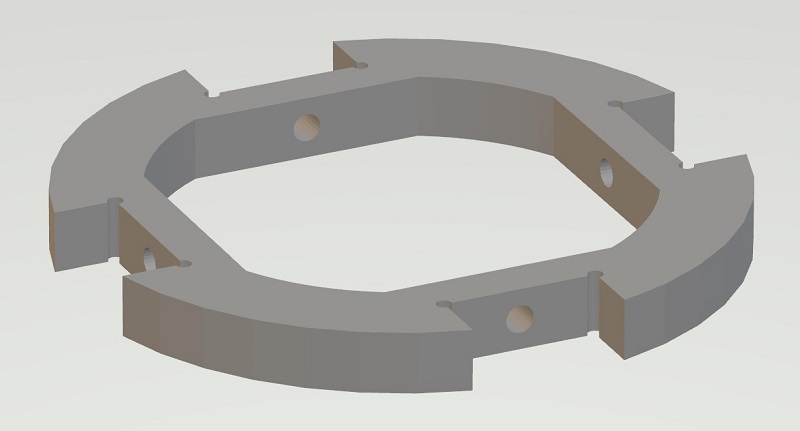 |
1 (x6) |
| joint_top | 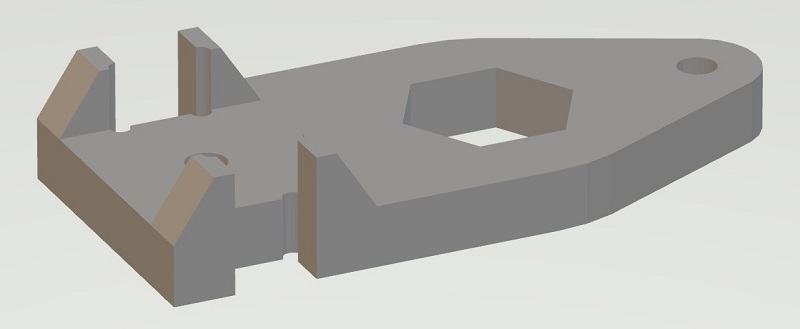 |
2 (x6) |
| joint_bottom |  |
2 (x6) |
| leg_top | 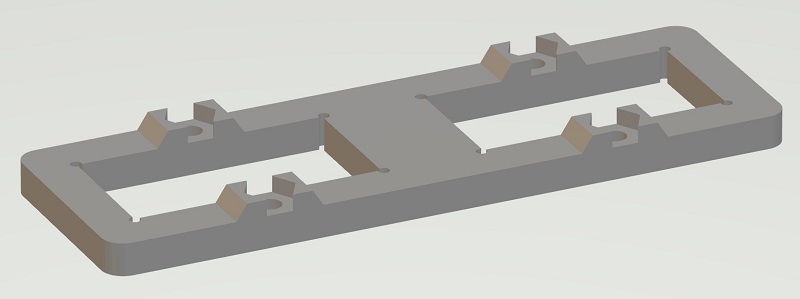 |
1 (x6) |
| let_bottom |  |
1 (x6) |
| foot_top | 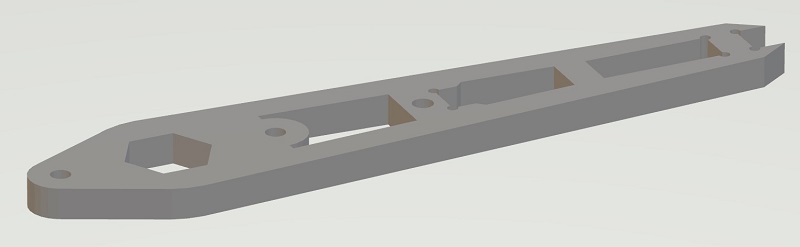 |
1 (x6) |
| foot_bottom | 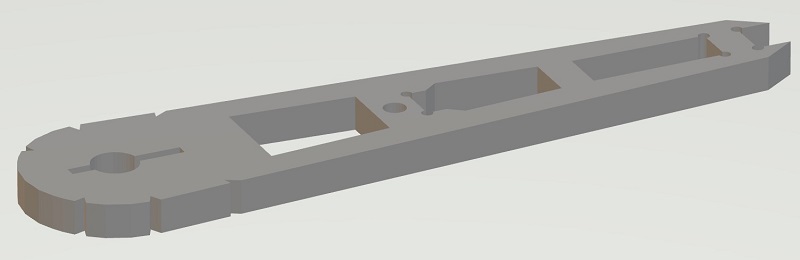 |
1 (x6) |
| foot_ground | 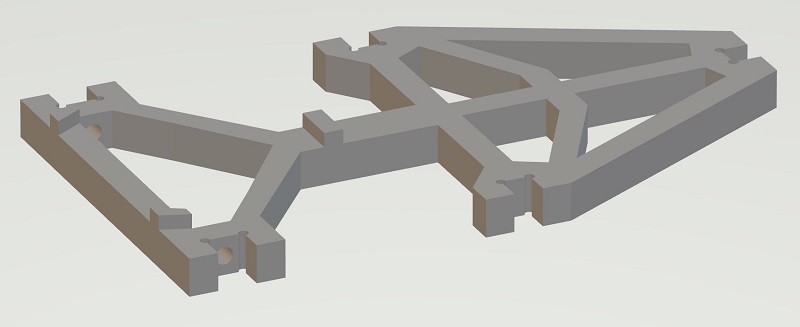 |
1 (x6) |
| foot_tip | 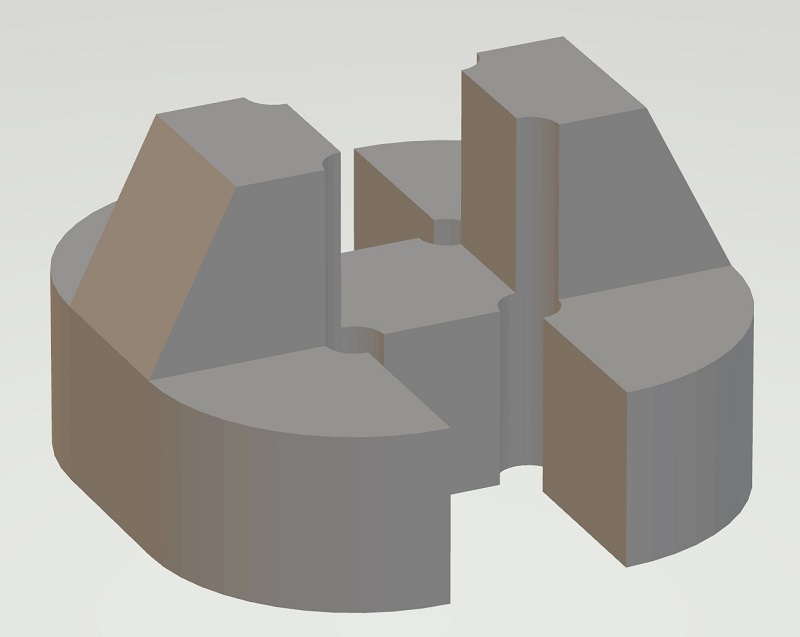 |
1 (x6) |
| servo_horn_j1j2 | 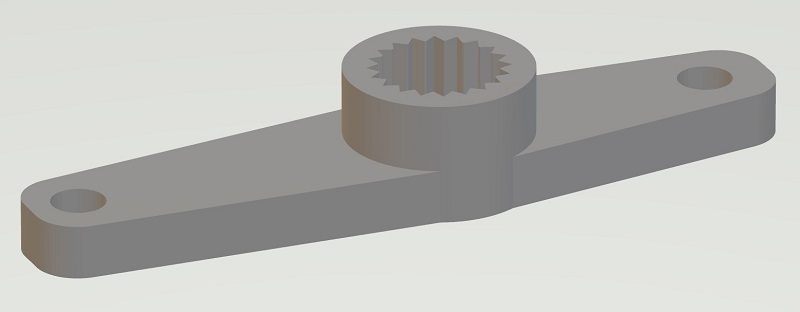 |
2 (x6) |
| servo_horn_j3 |  |
1 (x6) |
Others
| Name | Spec | Thumbnail | Required | Note |
|---|---|---|---|---|
| Screw | M2 6mm |  |
54 | Servo Arm: 1 x 18 Joint: 4 x 6 Thigh: 2 x 6 |
| Screw | M2 10mm |  |
24 | Thigh: 1 x 6 Pin lock: 1 x 18 |
| Screw | M2 30mm | 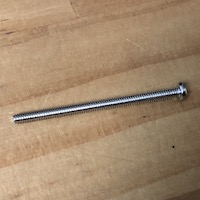 |
36 | Servo: 2 x 18 |
| Nuts | M2 | 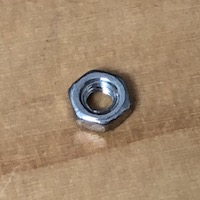 |
36 | Servo: 2 x 18 |
| Pin (304) | M4 6mm | 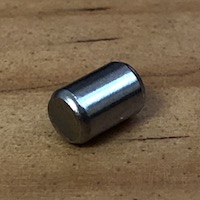 |
18 | Servo: 1 x 18 |
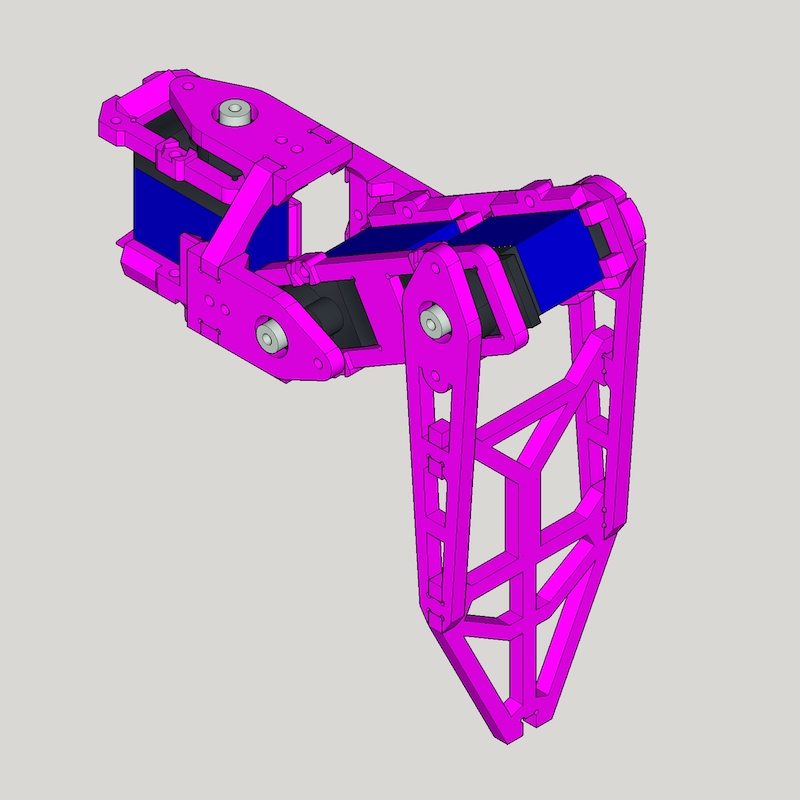
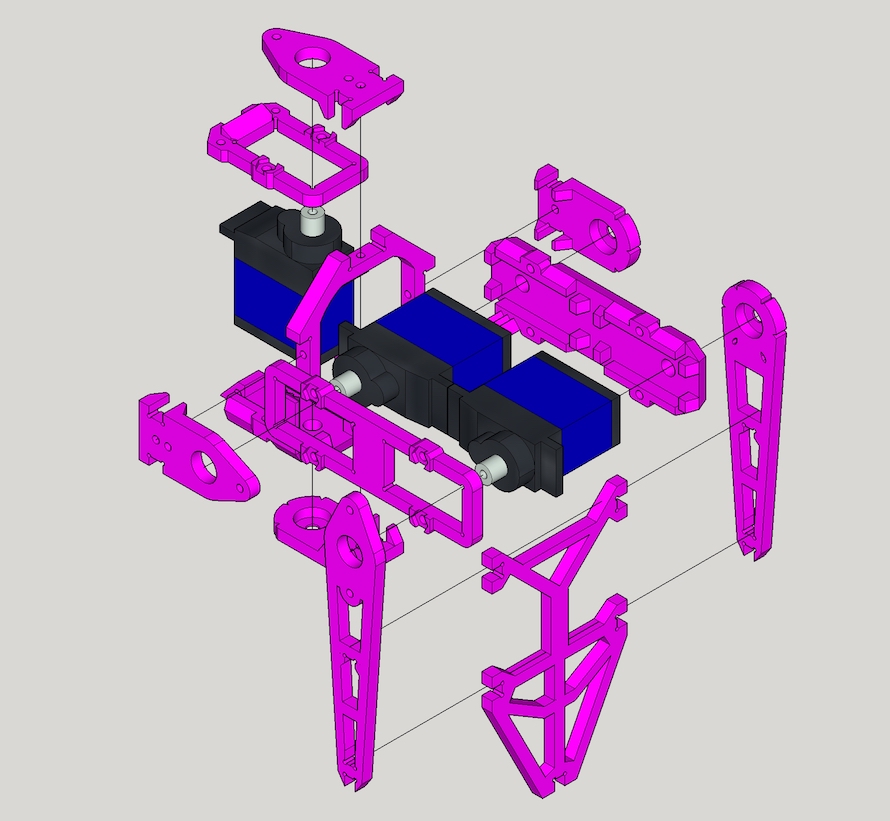
Leg Assemble
Assembly video

Exploded view
Detailed steps
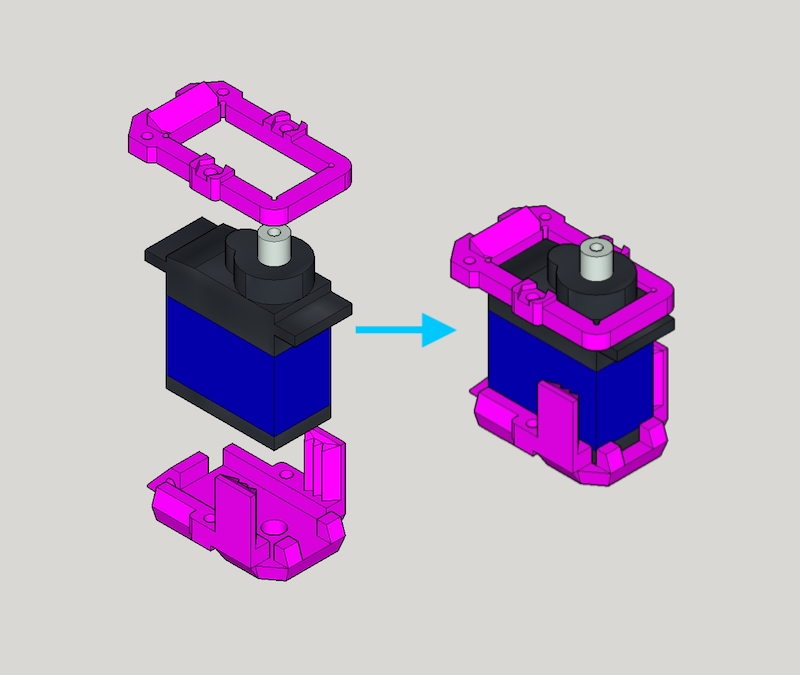
- Step 1 - Combine
thigh_top,MG92Bandthigh_bottom, use M2x30mm screw and nut to secure them together.
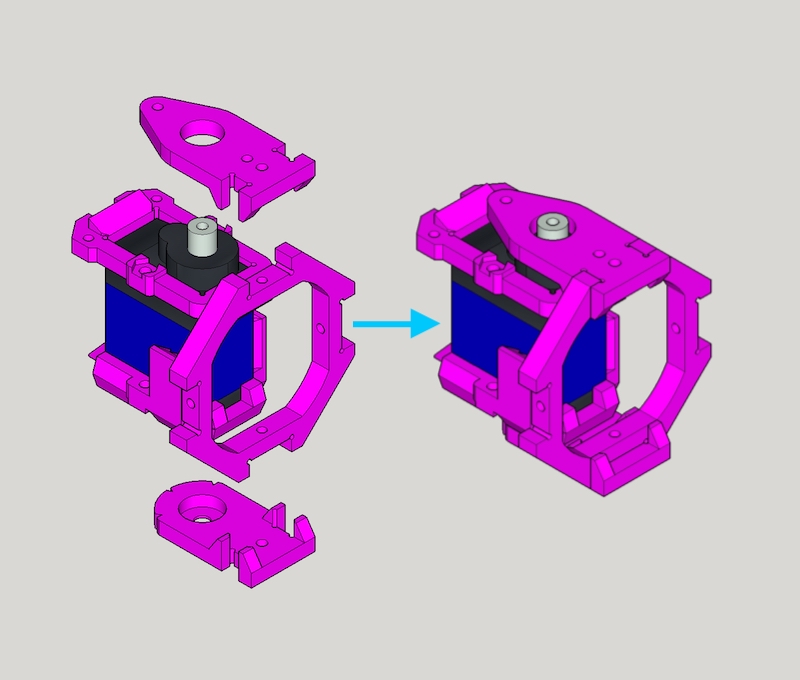
- Step 2 - Grab one
joint_cross,joint_topandjoint_bottomand combine them
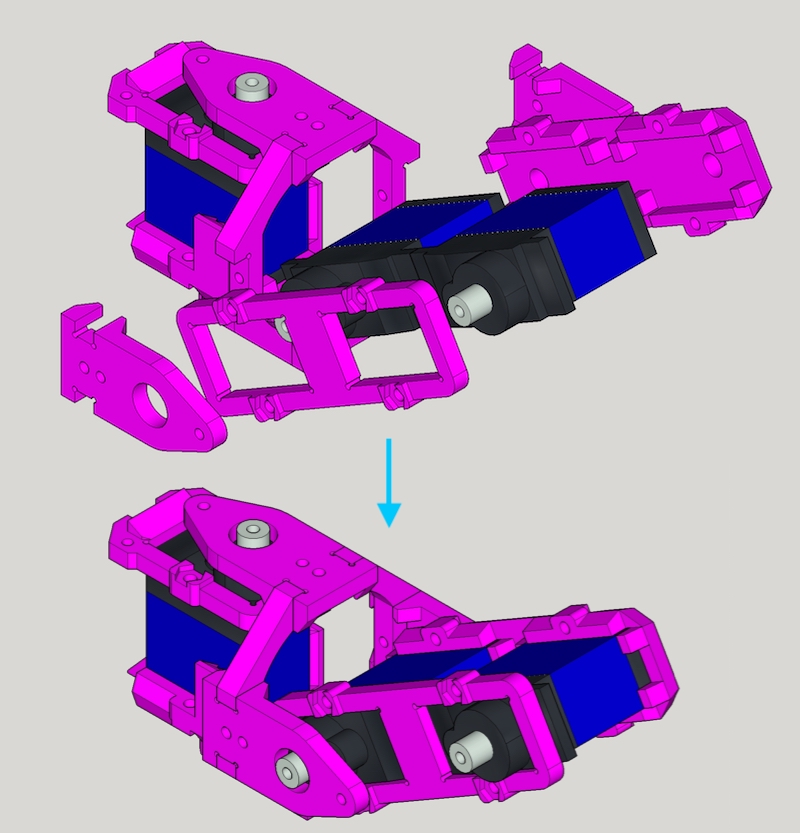
- Step 3 - First put 2 x
MG92B,leg_topandleg_bottomtogether with M2x30mm screw and nut. Then attachjoint_topandjoint_bottomaltogether
- Step 4 - Grab
foot_top,foot_bottomandfoot_ground(andfoot_top) and assemble them.
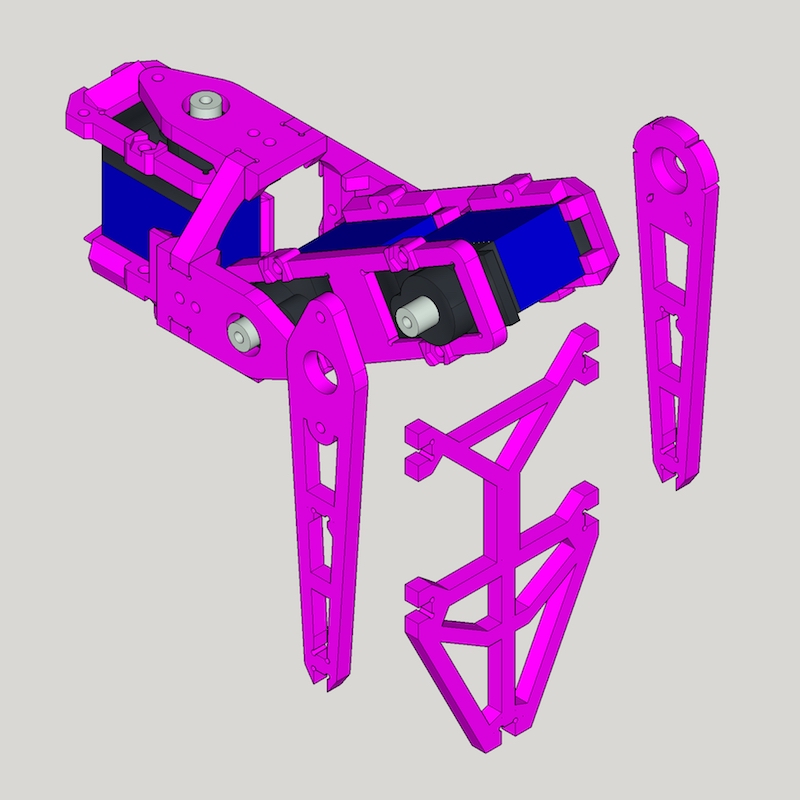
- Finish - Great, you got 1 leg done, 5 more to go :)